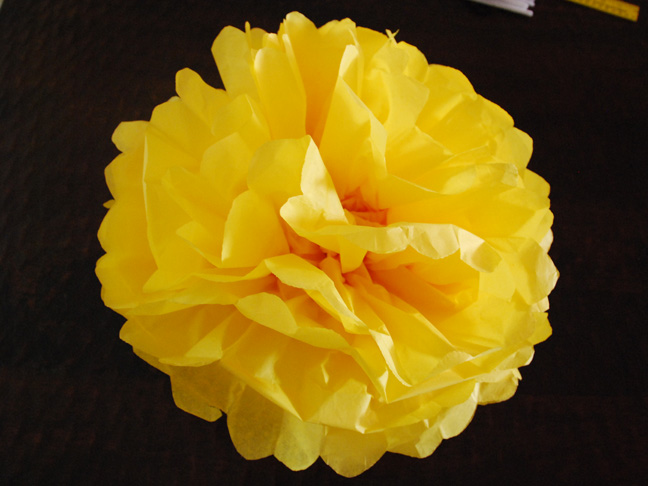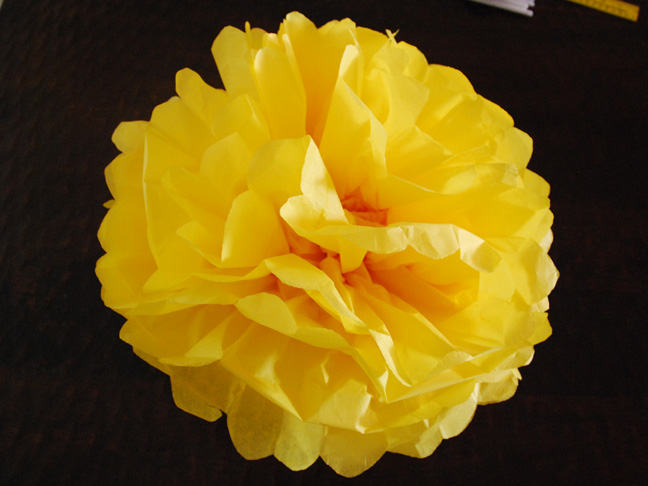
It seems that party poms are everywhere. Sure, it's easy to order them, but it's even easier (and cheaper) to make them.
Whether used as party decorations or as more permanent fixtures in a nursery, party poms are becoming more and more popular. Making your own party poms let's you decide exactly what colors, shapes, and sizes you want and it's the easiest DIY project you will ever do.
Supplies needed:
Tissue paper
Pipe cleaners
Scissors
Fishing wire

For this large pom (about 18 in. diameter), I used 9 sheets of 20 in. by 25 in. tissue paper. For fuller poms, additional sheets of tissue paper can be used. For smaller poms, cut the tissue paper to a smaller square.

First, lay stacked tissue paper on table and fanfold every 1.5 in. to 2in. To fanfold, make one fold away from you, turn over, and fold toward you on top of the previous fold. Continue folding until you are at the end. Make sure to run edges between you fingers to ensure a good crease.

Next, tie a pipe cleaner tightly around the center of the folded tissue paper. This is also a good time to tie a string of fishing wire to the pipe cleaner for hanging.

Cut your desired shape at each end of the folded tissue paper. The ends can be rounded or made pointy, whatever you prefer.

Fan the paper out so the edges meet.

Pull each sheet of tissue paper individually towards the center. Make sure to pull the edges around as well to make sure the pom is round, and without flat spots at the top and bottom. You may need to play with it a bit to get the desired shape.


