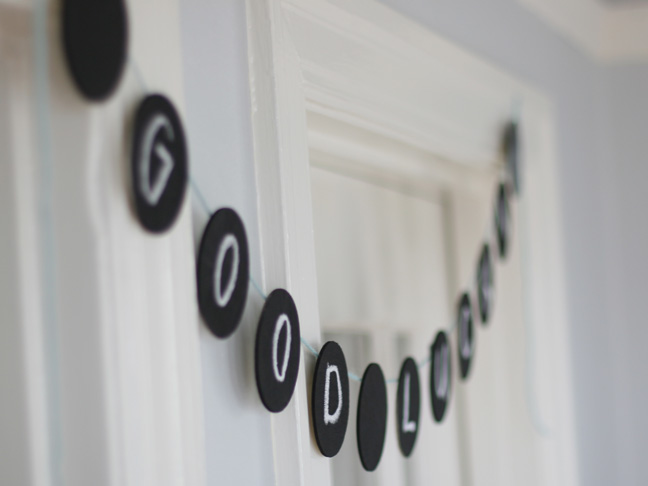
If you’re anything like me, you’ve probably accumulated way too many banners in your party supply box for every possible celebratory occasion: Halloween, birthdays, graduations, baby showers, Valentine’s Day…the list goes on and on. If you’re limited on storage space and budget, toss those all in favor of one banner you can re-use for any special occasion. I made this versatile and adorable chalkboard banner with space preservation in mind. I can use it over and over again, whenever it’s time to celebrate.

Supplies:
- Chalkboard spray paint
- Wooden disks or other shape (enough to spell out “Happy Birthday” or other common phrase you’ll use including spaces between words)
- Craft felt
- Glue gun
- Scissors
- Yarn
Instructions:
Step 1: On newspaper or craft paper, lay out your wooden disks in a well ventilated area.
RELATED: 101 Kids Party Favors That Won’t Make Parents Cringe

Step 2: Give them a nice even coat of chalkboard spray paint and let dry. Reapply in areas if necessary.

Step 3: Cut small squares with the scissors out of felt, one for each wooden circle. Mine were about ¾ inch by ½ inch.

Step 4: When the circles are dry, lay them face down, evenly spaced about 1½ inches apart. Lay the yarn across to measure the length you need, remembering to allow a foot or two on each end to hang the banner.

Step 5: Draw a line with the hot glue gun where the yarn will fall, and place the yarn on top of the glue.

Step 6: Take a felt square and place it on top of the yarn. Add a bit more glue if necessary to secure it down.

Step 7: Continue in a similar manner with the other circles, remembering to keep them pretty evenly spaced.

Step 8: After you’ve let the glue dry for a few minutes, decorate your banner for the first time with chalk! Remember to leave a blank circle in between words so it will be easy to read. 😉

Enjoy your chalkboard banner!
More DIY Party Ideas:


