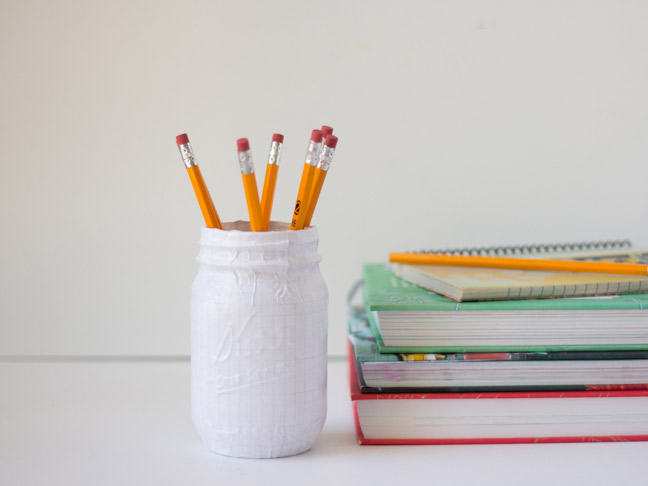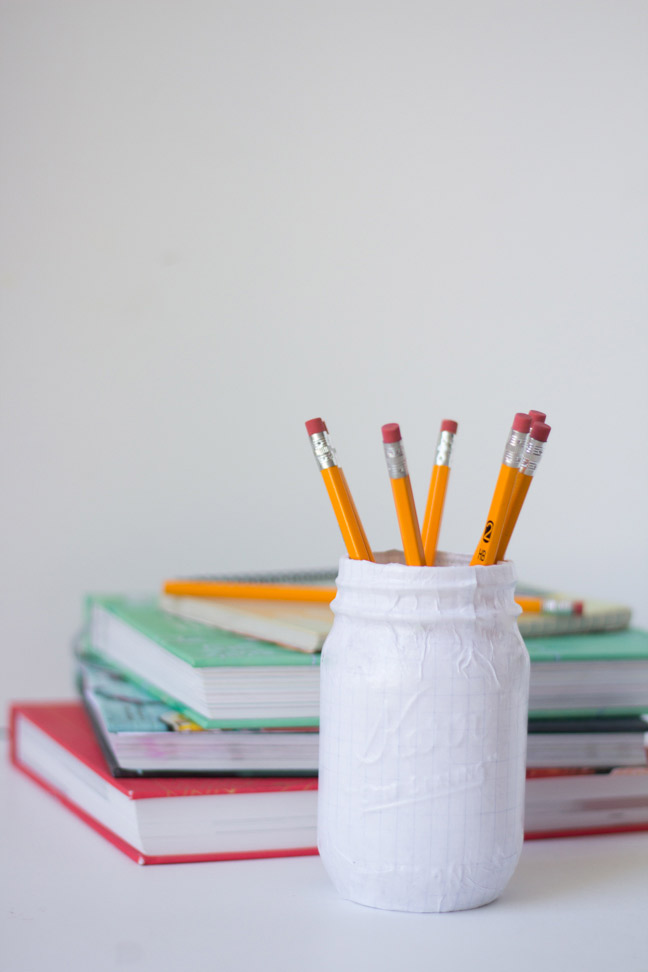
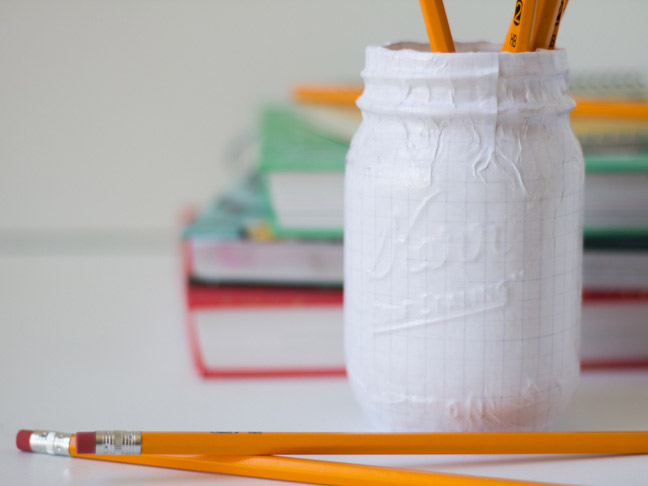
I love updating little pieces to refresh my desk. It keeps me happy while I’m working away, and makes for a new perspective every once in a while. If there’s a space in your house that could use a little update, put together this quick little mason jar pencil cup DIY! This tutorial on how to decoupage mason jars is perfect for keeping your desk supplies nice and organized, and you can customize the paper to match your office’s color scheme if graph paper’s not your thing!
Supplies:
- Mason jar
- Graph paper
- Scissors
- Mod Podge
- Paintbrush
Instructions:
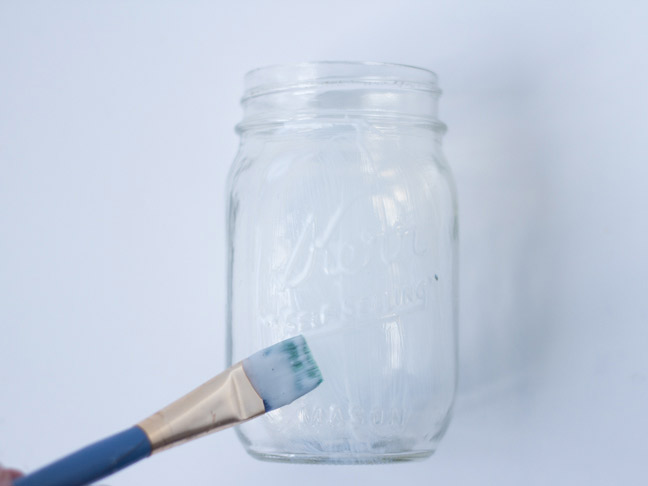
Step 1: Be sure the mason jar is clean and dry on the outside. Apply a coat of Mod Podge to the outside front of the jar.
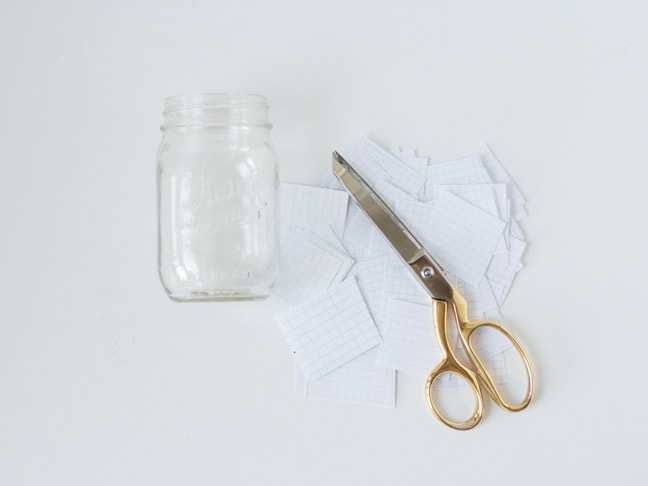
Step 2: Carefully lay down a sheet of graph paper lengthwise onto the Mod Podged section of the jar. Work your way around the jar, applying more Mod Podge and sticking the paper to the jar until the ends meet in the back.
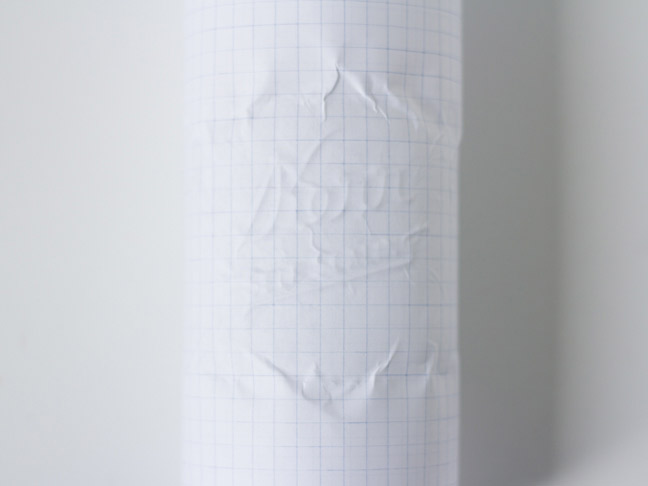
Step 3: On the bottom of the jar, snip a few slits in the paper so that they will fold over easily.
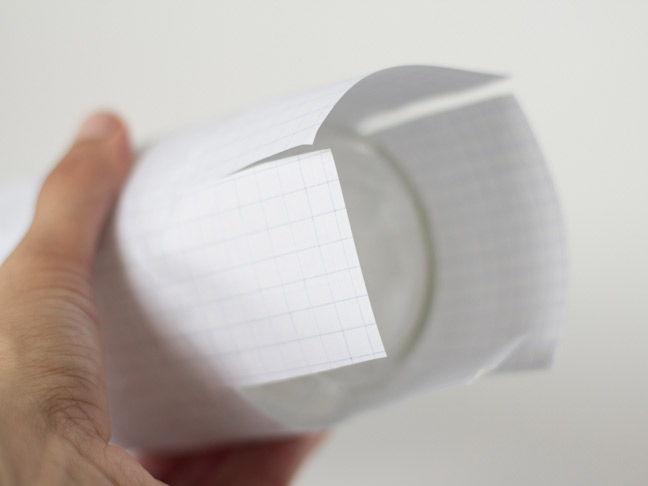
Step 4: Paste the ends down and around the bottom of the jar.
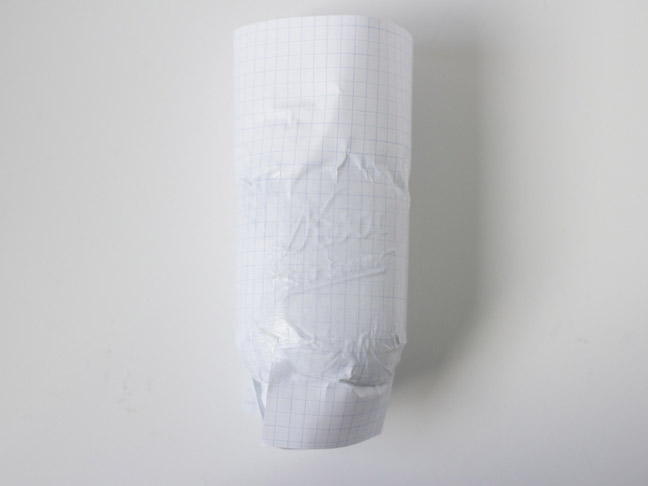
Step 5: Repeat steps 3 and 4 at the top of the jar. You may need to take a little extra time smoothing the paper along all of the ridges. Once the paper is covering the jar, apply a coat of Mod Podge to the outside of all of the graph paper. Let the glue dry thoroughly and trim away any excess paper.
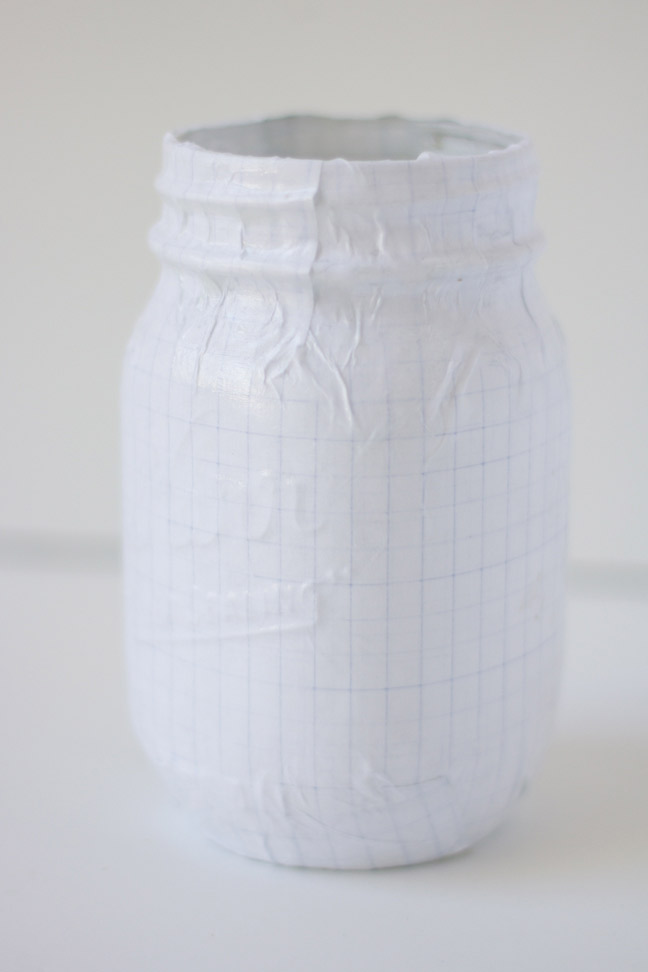
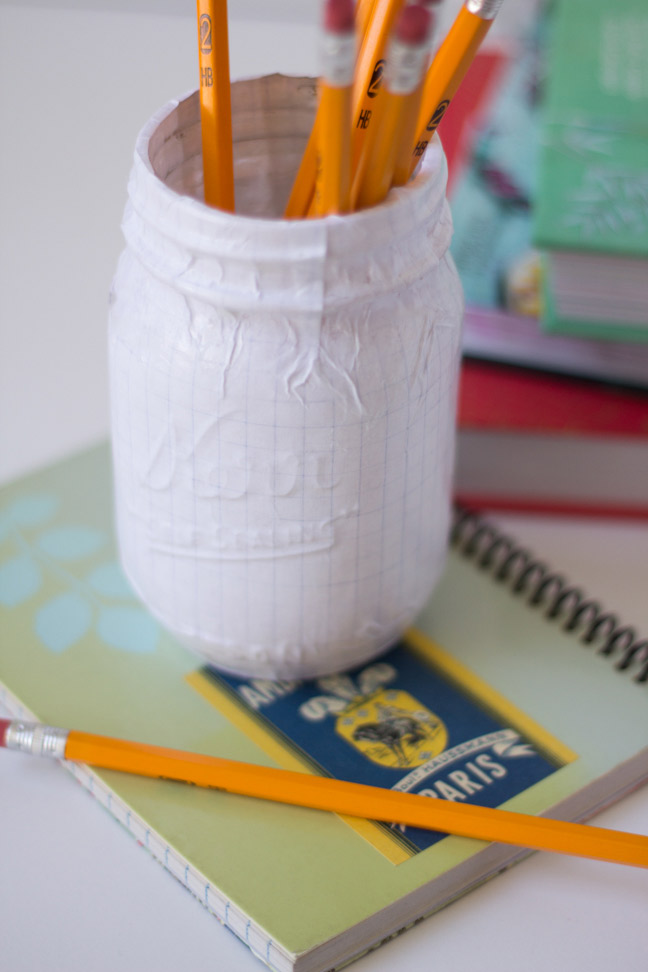
Step 6: Fill it with your desk supplies and get to work!
More DIY Mason Jar Crafts:
