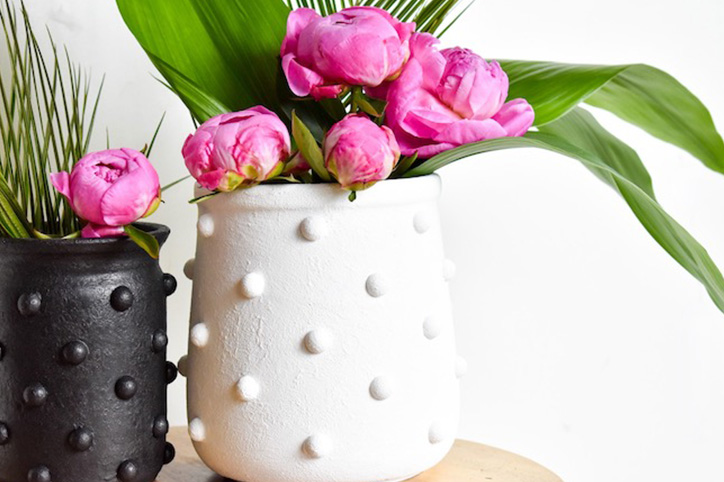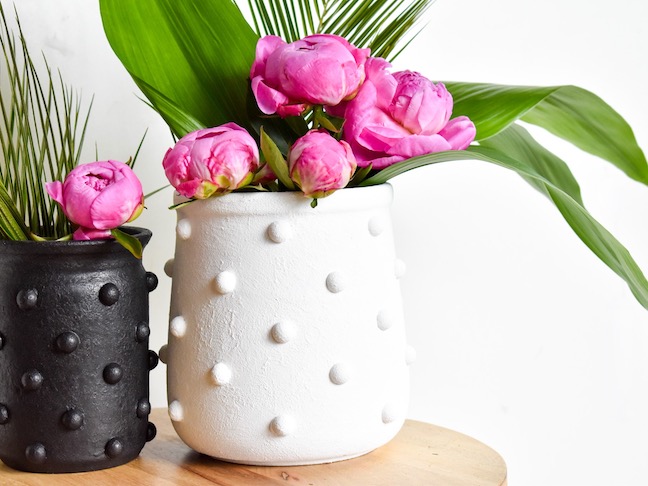
I saw this vase while shopping online. I loved it, but I didn’t love the price tag. A $150+ vase is not in my budget, but a $20 one was, so I made a DIY version. I’ve seen the recent baking powder and paint trend to create terracotta-like vases, and since I’m always up for learning a new craft technique, I went for it. The paint is very forgiving, so you cannot mess this one up. The less perfect stroke of the brush, the better it looks. Best of all, this easy DIY vase only requires six supplies!
Get out those paint brushes (and baking soda from the cupboard), and let’s get this DIY vase project started.
DIY Textured Vase
Materials:
- Vase, preferably from a thrift store
- Flat-back, dome faux pearls (this or this)
- Hot glue gun and hot glue (or E6000 would work, too)
- Baking soda
- Paint, acrylic or from a hardware store
- Paintbrushes
Directions:
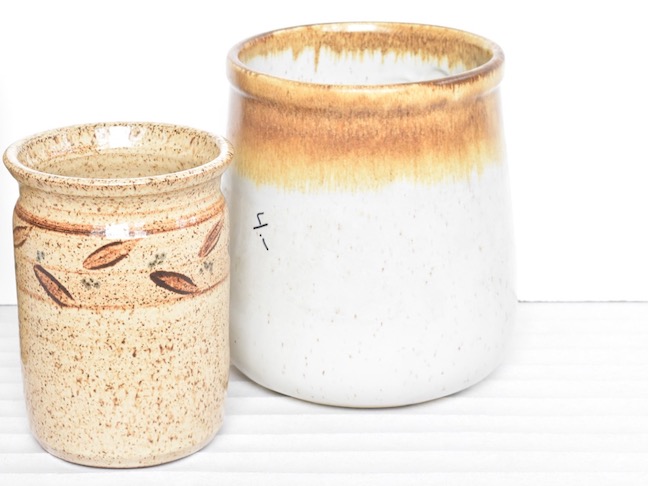
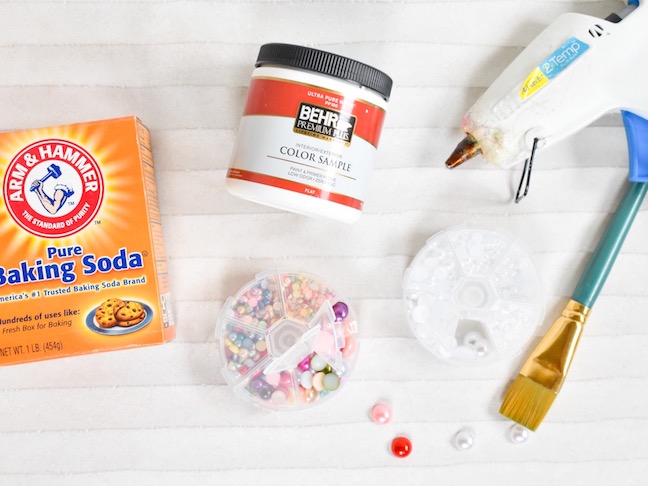
Step 1: Gather materials. Find the perfect vase at your local thrift shop. You may not even need to go to the thrift shop. You can look in your own closet for a vase you no longer use that could use some sprucing up.
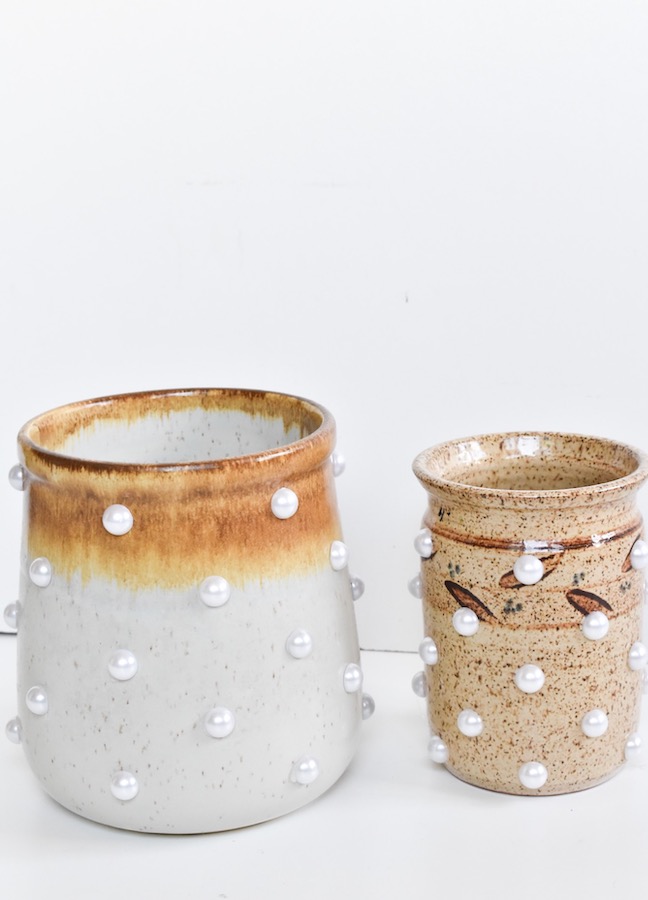
Step 2: Glue the half-dome pearls on the vase. I added them at random, and you can do the same, or in a pattern you like. The hot glue is faster with this step because it dries quickly. The E6000 (or most permanent craft glues) would work, too, but it will take longer to set and dry.
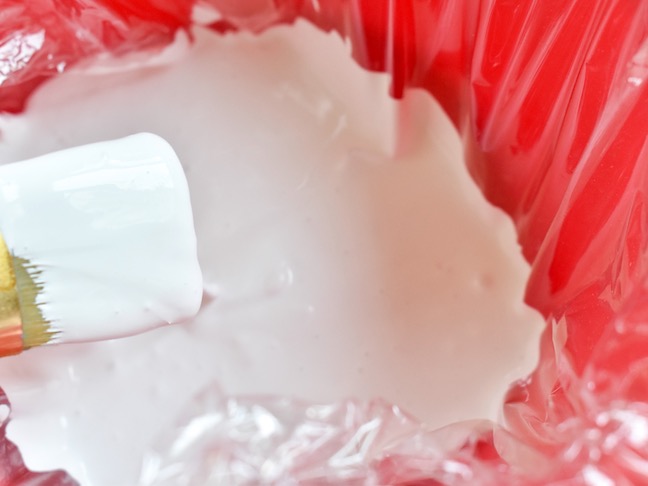
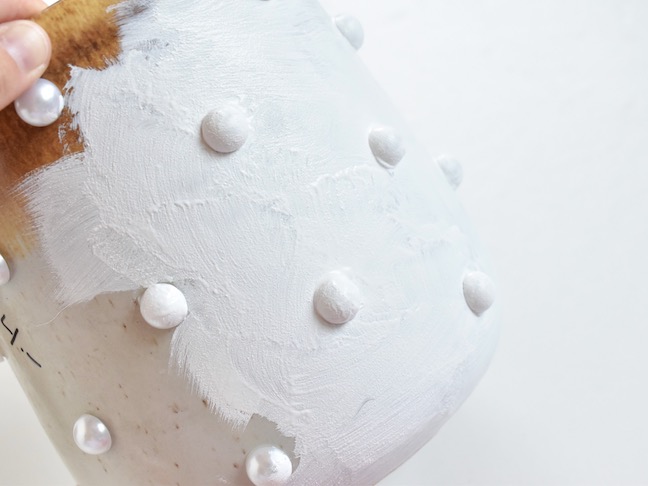
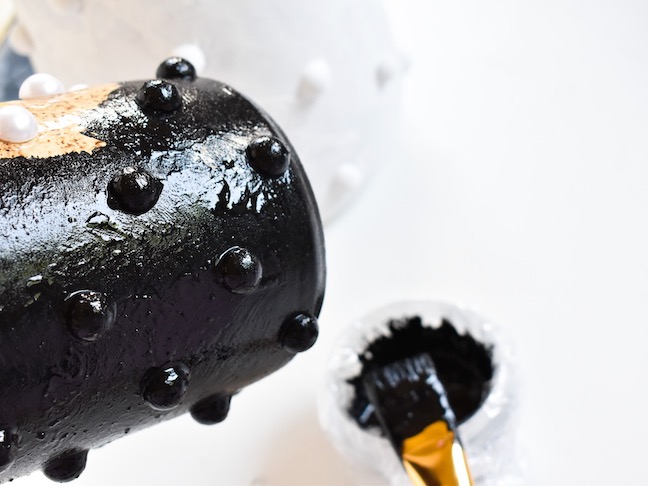
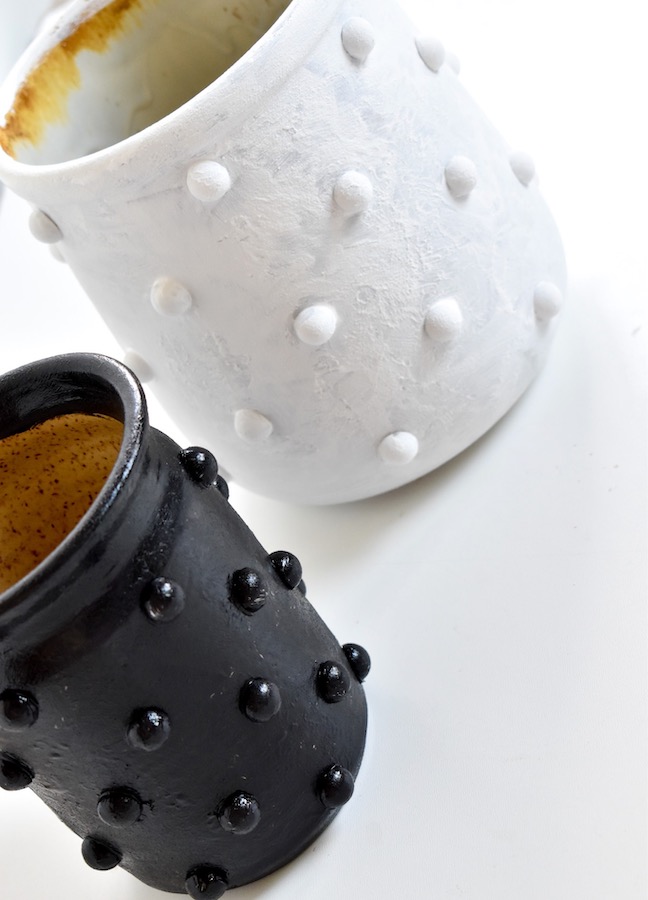
Step 3: Mix the paint and baking soda, and then paint. For the larger vase, I used 1 cup of paint and 1 tablespoon of baking soda. For the black vase (smaller), I use 1/2 tablespoon baking soda and 1/2 cup black acrylic paint. They are technically different kinds of paint, but both worked with the baking soda. You can dab, and use small strokes with the paint brush to create different texture effects.
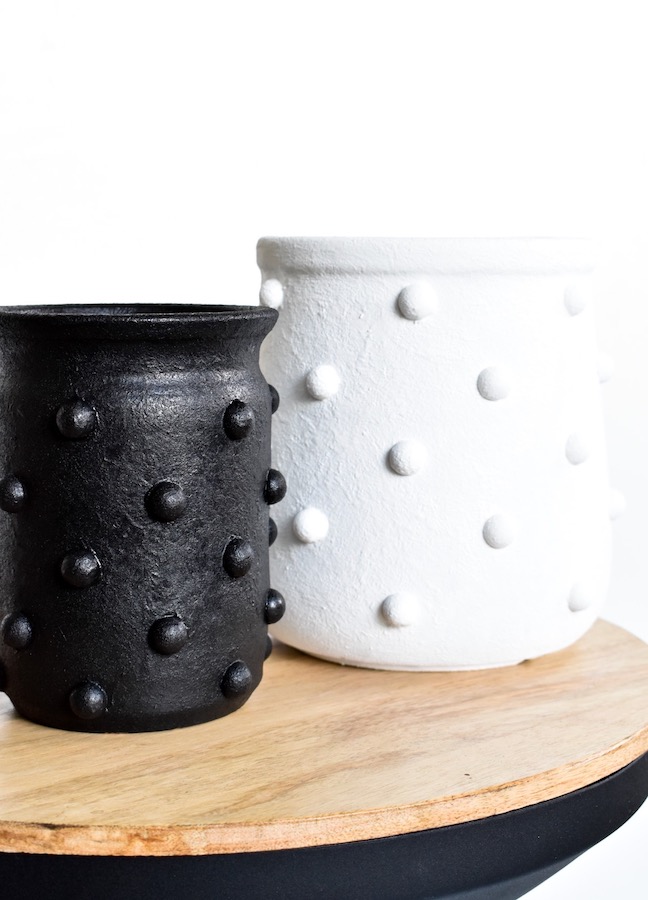
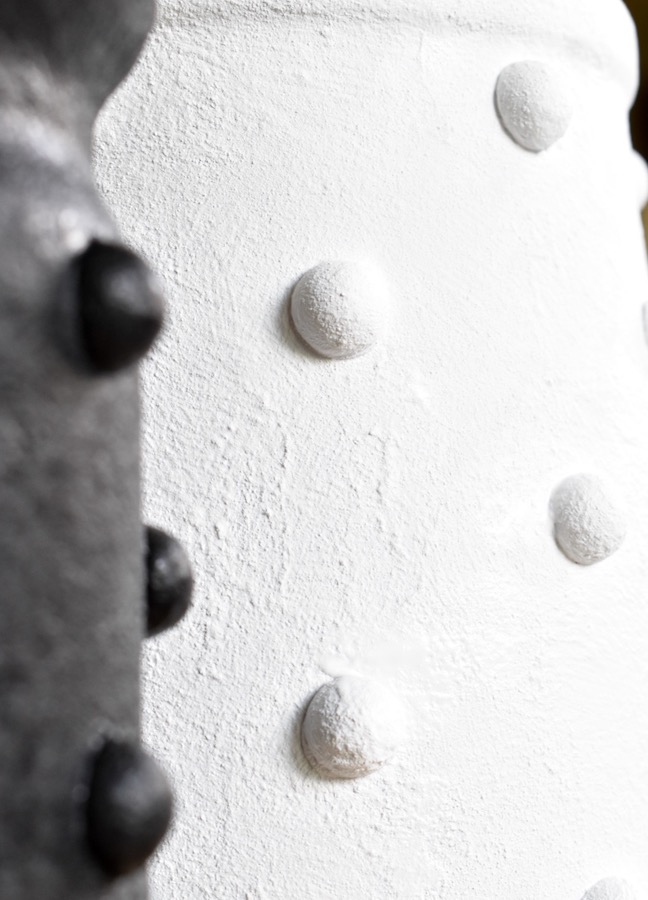
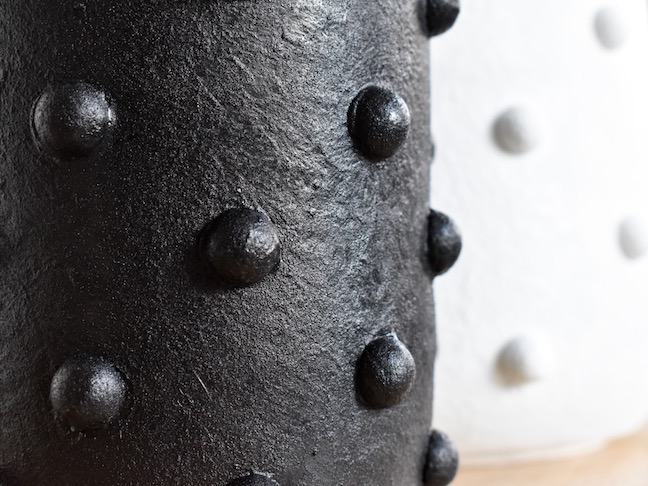
Step 4: Repeat steps as needed for full coverage. I needed two coats of the black paint, and three coats of the white paint. Each coat dries in about 15 minutes. Make sure to add paint around and on top of the pearls. If there is a slight gap between the pearl and the vase, add more paint so it looks more seamless and less homemade.
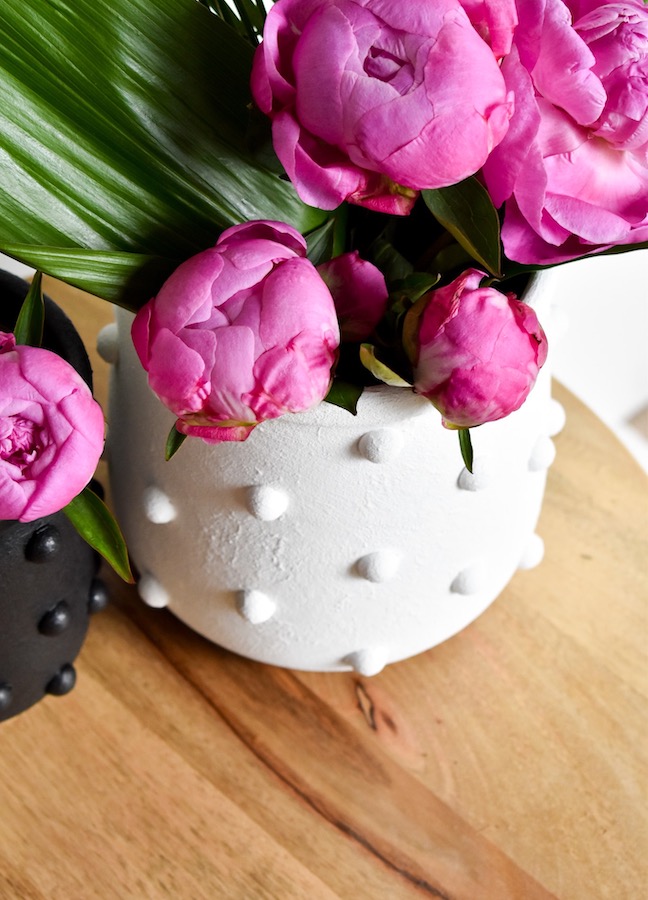
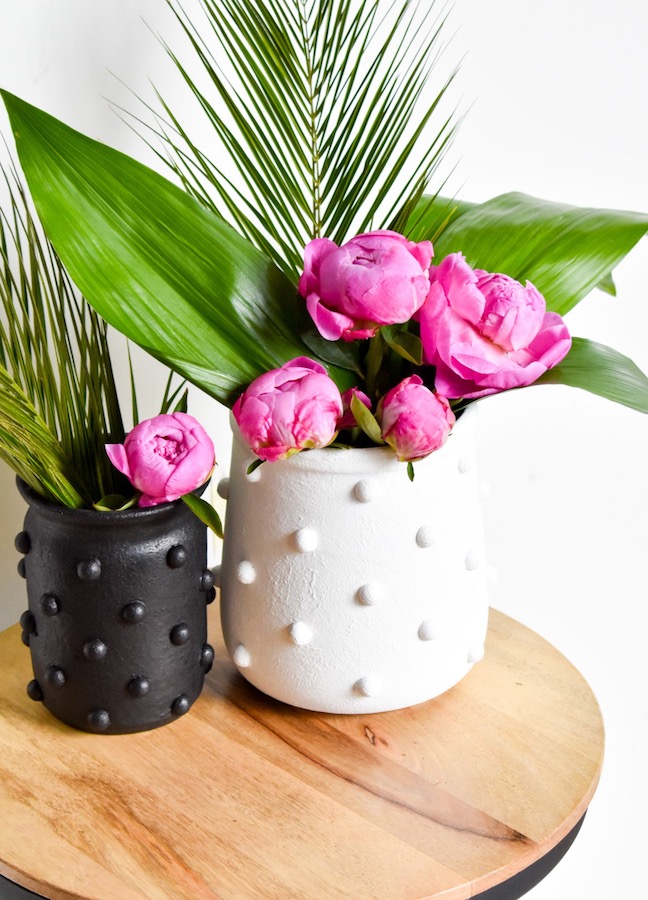
Step 5: Set up on your shelf, or table. I used as decorative vases, and even added some fresh blooms. My peonies (an absolute favorite), hadn’t quite opened up yet, but I still love them. I am also obsessed with the vases. My credit card is also quite happy.
