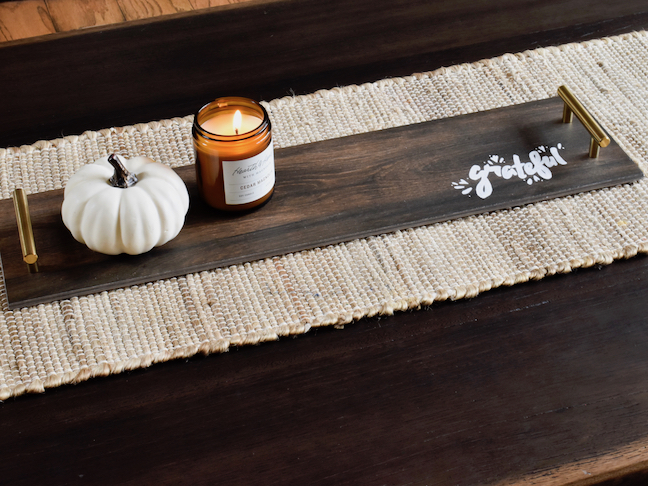
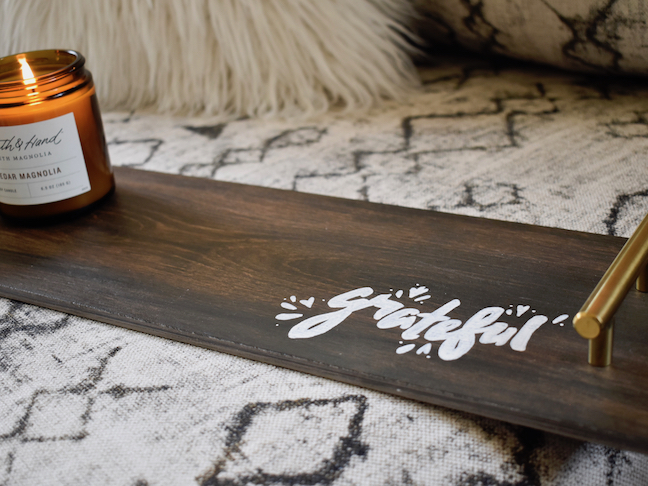
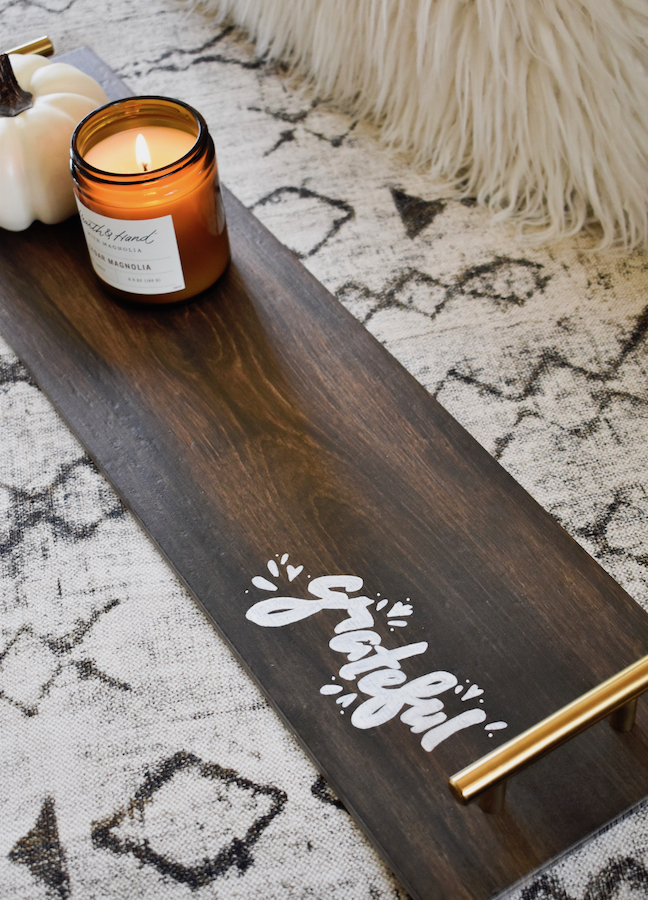
This time of year, everyone (including me) starts to think more about gratitude. When life gets busy, and we forget to see the gratitude in everything, especially when fear and anger creep in, we need reminders. This reminder is in the form of pretty DIY home décor. A DIY grateful tray is not just for display. It can also be used to hold candles, toiletries, jewelry, or even cheese and crackers when you play hostess for friends and family.
This easy and affordable tray (the tile is less than $3), is ideal for the holiday gatherings ahead, and makes a great hostess gift. I chose to make mine with a tile that looks exactly like wood. All the effect of wood without the splinters. Whether you choose real wood, or the tile, here’s how to make a DIY grateful tray.
DIY Grateful Tray
Materials
- 6 in. by 24 in. tile, Lifeproof Autumn Wood, Home Depot (wood or marble work, too)
- Painters Marker, white (fine tip)
- Pencil
- Chalk or Graphite Transfer Paper
- Brass Modern Cabinet Pulls
- Super glue
- Felt pads
Directions:

Step 1: Find a word, such as grateful to print from the Internet, or freehand the word. Adjust the size with Microsoft Word, and then print a copy.

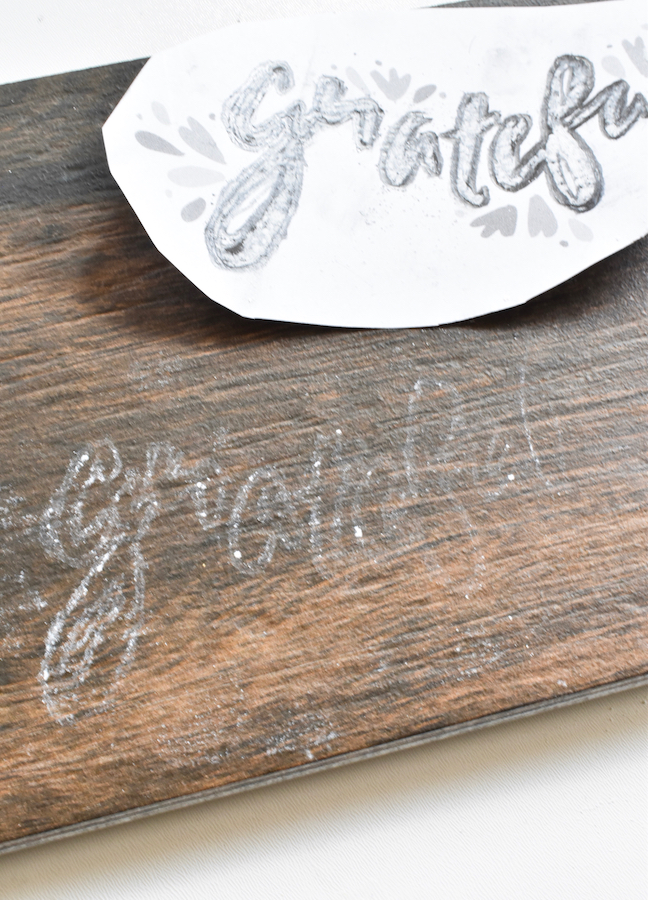
Step 2: For this tracing step, if you use graphite transfer paper, it’s easiest. If you don’t have around the house (like most of us), rub chalk all over the backside of your word. Use the side of the chalk and make sure the back is covered in the white chalk. It works good.

Step 3: Place the paper with the word and chalk on the tile, chalk-side down. You can use tape to keep it in place. Now, trace the word with firm pressure. I had to trace each letter a couple times for a thick line. Make sure to trace the outside of the letters. I made my word somewhat small for the tray, and traced it on the right corner because I want to see the word when items are on it, and now a large portion of the tray (not on the letters) is food-safe.
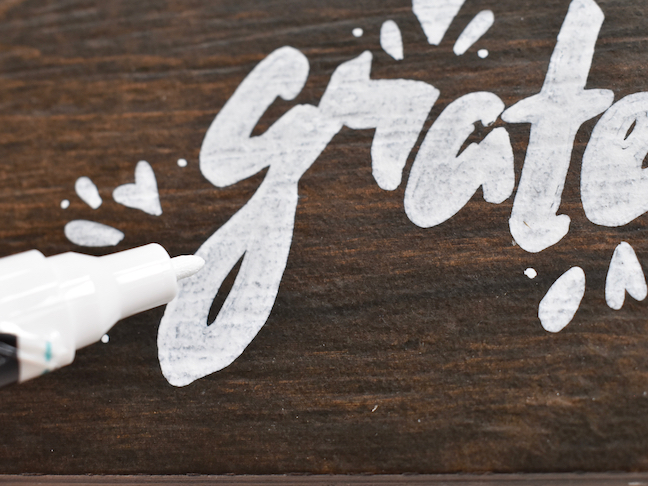
Step 4: Once all the letters are traced, remove the piece of paper. You should have a light chalk outline of your word or design. Now that you have an outline of a word, use a marker pen to trace the pencil, and then fill in all the letters with the white marker pen.
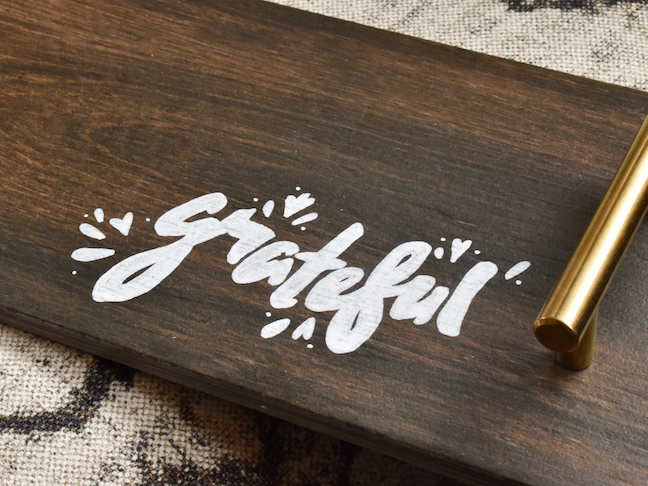
Step 6: Once the letters are dry, add glue to the bottom of the cabinet pulls, and glue them in place.
That’s it! Hopefully this tray serves as a reminder for you to think about all the people and things your most grateful for.
More DIY For the Home:
- DIY Pumpkin Wine Dispenser
- 10 Simple & Stylish DIY Fall Centerpieces
- DIY Succulent Wine Cork Planter Magnets


