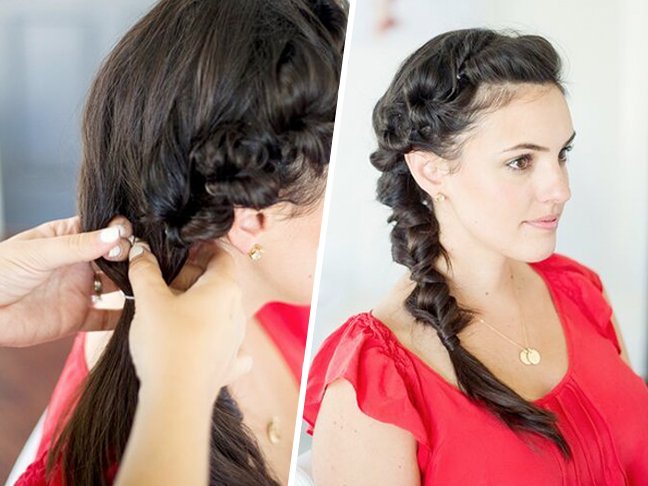
This pull-through twisted braid may look tricky but really is just a fancy topsy turvy. Remember the topsy turvy?! This style looks adorable and will last all day. Here are my step-by-step instructions on how to master this “non-braid braid.”
Supplies:
- small clear rubber bands
- bobby pins
Instructions:
Step 1: Create a deep part in hair. Gather a small triangle at the front of hair and tie off with a small clear rubber band.
Step 2: Split that section into two to make a hole in hair above the rubber band. Flip the ponytail through the hole and pull through.
Step 3: Continue down the side of the hair, tying off sections and flipping them through.
Step 4: Tug and fluff the sections as you like. This will create an effortless, softer look. By loosening these sections you can also hide the rubber bands.
Step 5: Once you have created the twists down the side of the hair to your ear, gather the rest of the hair into a side ponytail.
Step 6: Continue to split and flip hair through each section down the length of the ponytail.
Step 7: To hide the lower ponytail rubber bands, you can take a small section under each rubber band after flipping through, and wrap it around the rubber band. Secure the wrap with a bobby pin.
Voila! You have a secure and super fun look that will last all day.
More Braided Hairstyles:
- 5 Summer Hairstyles for Moms
- Mane Inspiration: 7 Fun Ways to Wear Braids
- Quick Messy Updo for Short Hair
Save
Save
Save
Save
