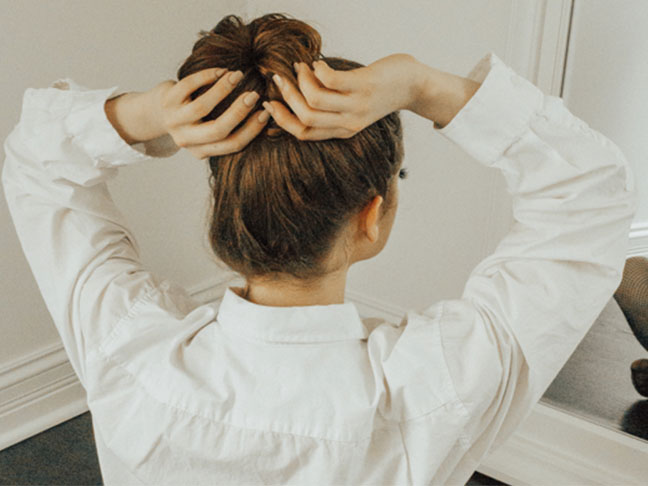
I don’t know about you, but I’ve had it with hat head and staticky winter hair. I’m longing for those fleeting spring days where wash n’ wear hair is a thing. Sure, I can pull of a messy hair bun like a pro, but it starts to sag after a while and then it just turns into a droopy mess. That’s where the polished top knot comes in. Not a complicated and time consuming one though – I’m talking about a 5 step pretty hair bun that pretty much anyone can create with just a dollop of product.
So grab an elastic and a handful of bobby pins and read below for the easiest way to create a hair bun for those days when a messy look just won’t do.
Step 1: Create A High Pony
We all love a high pony as it lifts and defines our features like no other style. We kept ours looking natural by brushing our hair upwards with our fingers and using a clear elastic to set in place.
Step 2: Twist Up
Next, we twisted our hair upwards and then let it naturally twist around itself naturally (to form a bun) as we lowered it downward.
Step 3: Form Your Bun
Note as we mentioned above, this style is ideal for wet hair, raw hair (your natural hair without any product), and second or third-day hair. It’s also nice to set your hair in this fashion with a soft scrunchie before you go to sleep to get loads of natural, chemical-free volume and wave.
Step 4: Set Sans Product
We set our bun in place using another clear elastic and pinned any strays with hairpins.
Step 5: Fluff
And lastly, we tugged at our bun to get the shape we wanted and create that natural fullness.
hair/story by Maritza Buelvas @beautyforbloggers
modeling by Bella Wholey @bellawholey
images by Maritza Buelvas @babesandthebungalow
