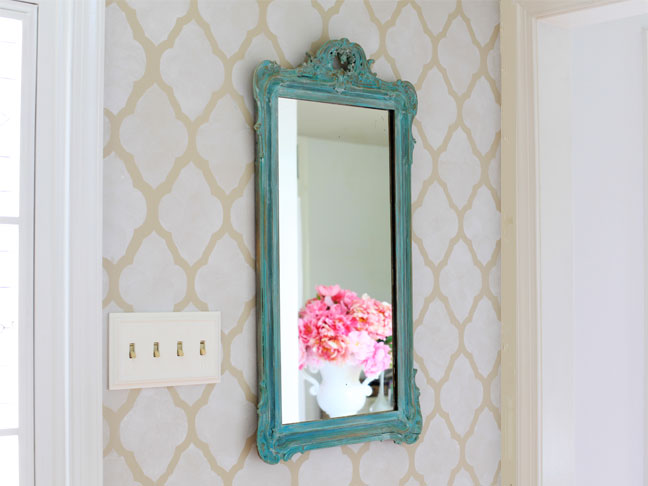
Supplies:
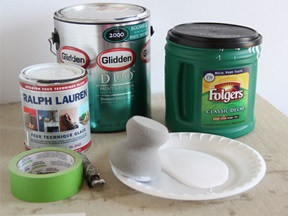
- all-over stencil design (The one pictured is from Royal Design Studios in the Large Moroccan Trellis pattern)
- foam roller or foam pouncer (Martha Stewart Crafts offers them in a variety of sizes)
- white latex paint
- clear glazing mixture
- painter’s tape
- foam plate (to mix paint)
- plastic container (to mix paint and glaze)
- paper towels
Instructions:
This is how my wall looked Before:
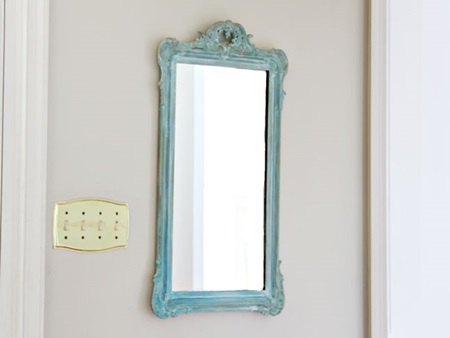
Step 1: Mix half the paint with half the glazing liquid in a plastic container.
Note: This process will make your paint a bit more transparent and give the design a much softer look. It also slows down drying time, so if you make a mistake, it can be easily wiped away.
Step 2: Once you have mixed thoroughly, pour about 1/4 cup of the mixture onto the foam plate. This will be your pouncer applicator palette.
Step 3: You want to start at the most-seen corner. Attach the stencil to the wall using your painter’s tape. Place tape back on to hold stencil up and fill it with paint. Use the large foam pouncer to apply the paint. To do this, dab the pouncer into the mix and then dab once on a paper towel to remove excess paint.
Note: Your stencil should be quite large and should come with easy to follow directions. It also should include a separate stencil to make stenciling along the ceiling and floor lines easier. It should have registration lines marked on it to make it easy to line up when continuing the design on the wall.
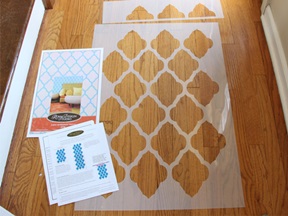
Step 4: Begin dabbing on the open designs on the stencil. Try to apply even pressure all around.
Note: I like the look the foam pouncer produces, but you can use a foam roller for quicker application, if you prefer.
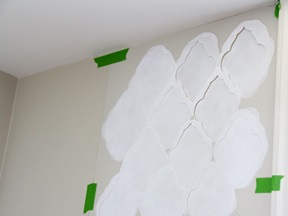
Step 5: Once you have one section finished, remove the tape and move the stencil to the next section. There are registration marks on the stencil that make the lining up easy.
Step 6: Repeat these steps until wall is covered. Use the small stencil to fill in the ceiling and floor lines. Let dry. this is how my wall looked After:
