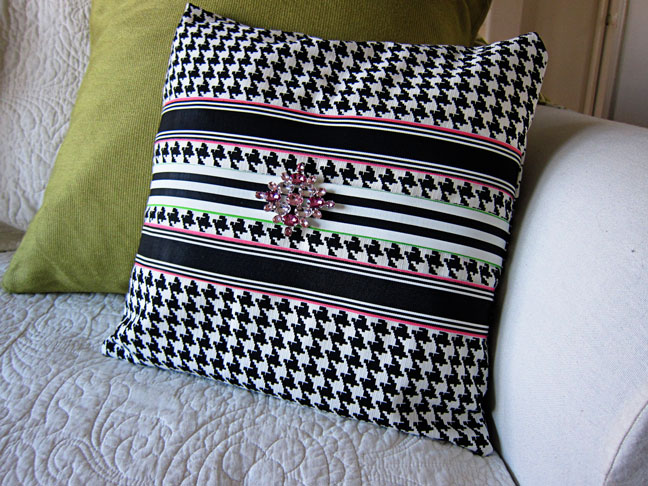
I have made plenty of pillow covers in my decorative life, but recently found a super simple way to make the process even easier than even I ever thought. I wish I had known about it sooner as I could have saved myself lots of sewing time.
This method is so simple – I had to share it with you. It truly is magic- a length of fabric that you sew two hems and two seams. Presto-o Change-o you’re done! You can make one to go over an existing pillow you want to update or you can use a plain pillow insert to stuff into the cover.
For this tutorial I am showing you how to make the basic cover. I embellished my fabric with ribbons before I sewed it together and then accented it with a pretty pink pin. If you would like to add the decorative ribbon and pin see the end of the post.
Supplies Needed:
- Fabric
- Thread
- Pins
- Scissors
- Ruler
- Pillow form
Instructions:
Measure the width of pillow form and add 2 inches. Measure the length of the pillow form, double and add 8 inches.
Cut one layer of fabric to this size.
Turn, press and stitch a double 1 inch hem on each end of the fabric.
Turn the top end down 4 inches, right sides together. Bring the bottom end up to cover the turned top flap and align it with the top fold, again right sides together.
(If adding ribbon – pin it in place before sewing seams. Note that the front of the pillow is on the bottom of the folded fabric.)
Machine stitch both side edges through all layers using a 1 inch seam allowance.
Flip fabric right side out.
Press flat and then insert pillow form and work into the corners. Bring the top flap over the cushion form to completely cover. Work your fingers into the inside corners to make sure flap is all the way right side out. The cover is like an envelope.
I added a decorative pin as an accent to the center of the pillow.
To add ribbon on the front of your pillow you can sew it on, use Heat N’Bond, or fabric glue to attach it. Once it is attached you can sew the side seams.
