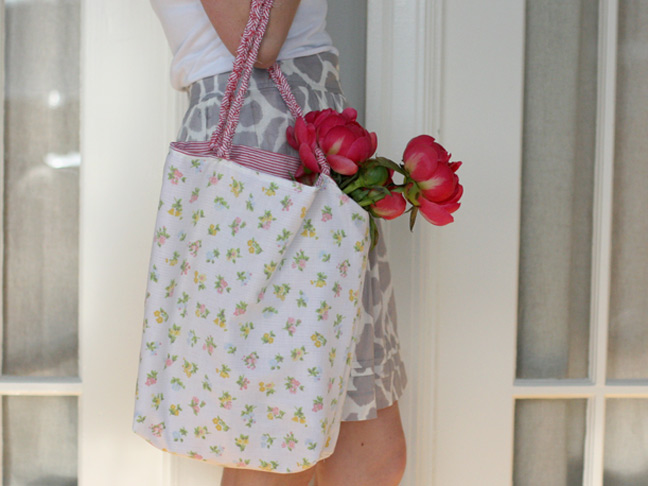
Sewing a simple lined bag for your trips to the market or the park is a lot easier than you think! Keep reading to see the full instructions to make this cute market tote!
Pick two patterns. One for your outside and one for the bag lining. Cut two pieces of each fabric approximately 17 x 14 inches.
Starting with the outside fabric, sew the two pieces together, right sides together along two long sides and one short side. Do the same with the lining pieces except leave a 2 inch hole in one of the short sides to turn it inside out.
With the fabric still inside out, square off the corner and sew about a 2 inch seam to square off the corners and snip the excess fabric off. Do the same for the other corner and for the lining corners as well. This gives the bag a little shape.
Place the lining inside the outside fabric. The lining should be right side out and the outside fabric should be inside out so right sides should be facing each other. Pin them together at the top where they meet. Make sure the corners fit inside each other well. Sew the pieces together along the top, about 1/2 inch from the edge.
Now reach inside the lining and pull the outside fabric through the hole you left. Stitch up the hole in the lining.
Iron the seam along the top opening nice and flat.
Cut a long piece of fabric in one of the patterns you used for the bag. Mine was about 40 inches long and snip 5 marks in the fabric to tear off 6 pieces for the braided handles.
Tear the 6 pieces. They should look like this above. Don’t worry about them being the exact same size.
You’ll make two braids, using three strands for each braid. Tie a knot on each end and place it somewhere sturdy. I think it’s easiest to squeeze the knot between my toes and braid up.
Pin the braids where you’d like them on the bag, making sure they are the exact same length so one handle isn’t larger than the other.
Now you’ll simply sew a top stitch around the top, reinforcing back and forth a couple times when you come to a braid.
And you’re done! Enjoy your new market tote!
