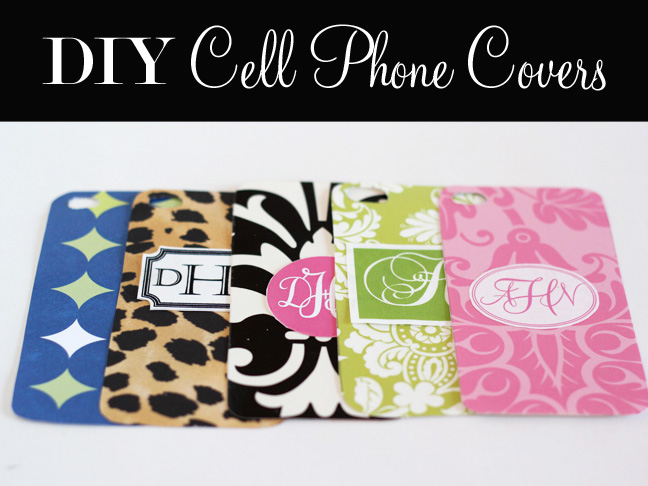
When I saw the $50 price tag, I knew it was not going to happen. The only way I was going to be able to afford one, was to make one. I ended up making more than one as I was having so much fun coming up with different looks, fonts, and styles that I made a few. A few for me and a few for my friends and family.
Here is how I made them.
I found the clear case at the phone cover kiosk at my local mall, it was $12. The colorful rubber bumper covers I found at Radio Shack. $10 for a pack of 4.
I gathered some scrapbook papers I liked.
Along with a glue stick, paper hole punch, and a small pair of scissors.
1. I traced the cardboard insert that came with the clear cover onto the back of a piece of scrapbook paper. If it doesn’t have the hole for the camera, use the actual cover to mark where it should go on your paper. Cut the scrapbook paper.
Make sure it fits in and then cut out the camera hole. I used the paper hole punch to put a hole in the middle of the oval shape camera lens hole, and then used scissors to cut the rest out neatly.
Using my computer I created a few monograms. Software programs like Microsoft Publisher and Adobe Photoshop Elements make this easy. If you don’t have software installed on your computer to do this, you can make names and initials in decorative fonts using your word processing software.
Print your monograms, names, or initials onto computer paper. Cut each out with scissors.
Glue to the center of the piece of scrapbook paper. Insert in clear cover.
