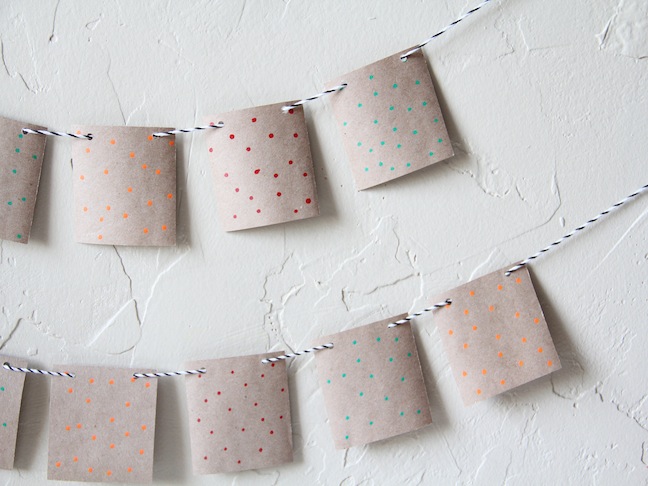
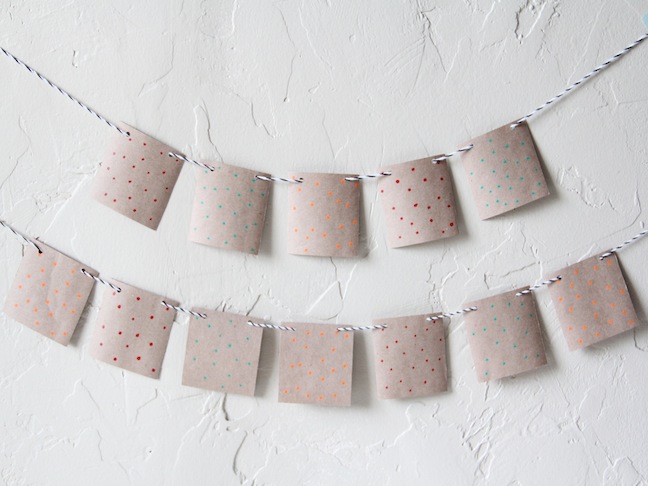
Fall is one of my favorite seasons, and what better way to celebrate it than with a few fall crafts? This easy DIY makes for great fall home decor and is simple to make with kids. Use your favorite fall colors for a simple Fall Banner that’s perfectly festive and takes almost no time and no money to make!
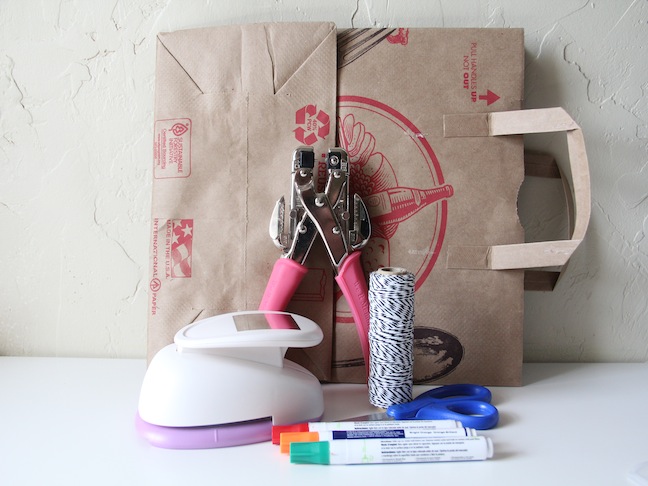
Supplies:
- brown paper bag
- square paper punch (optional)
- scissors
- string
- paint in your favorite fall colors
- pencil with new earser
- paint pens (optional)
Instructions:
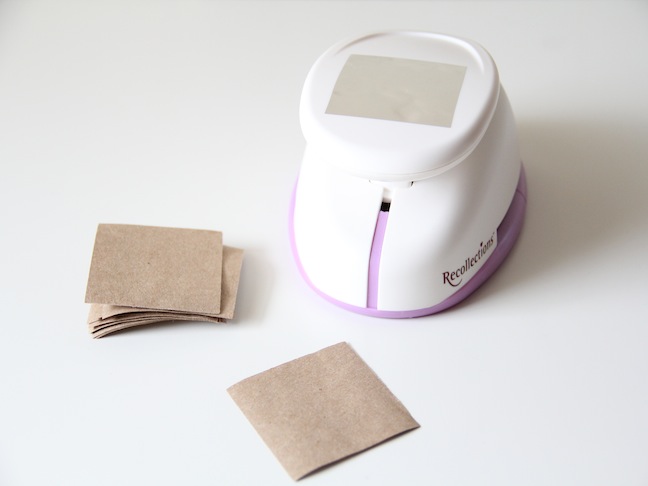
Step 1: First make your paper squares! Grab your paper bag, cut out a section and start punching holes with your square hole punch. If you don’t have a paper punch, you can cut the paper with some scissors or a paper cutter.
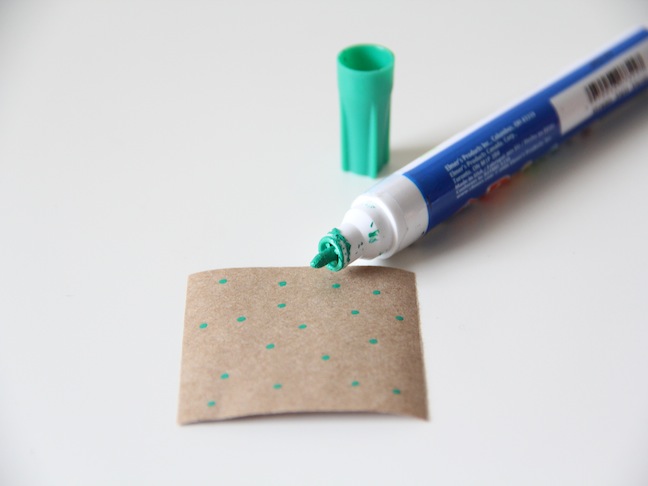
Step 2: Once your have your squares, it’s time to make them pretty! Paint polka dots on the paper; to do this, you can use paint pens, but if you don’t have any, simply use a pencil eraser or a Q-tip and dip into your paint to make your polka dots. Let the paint dry completely.
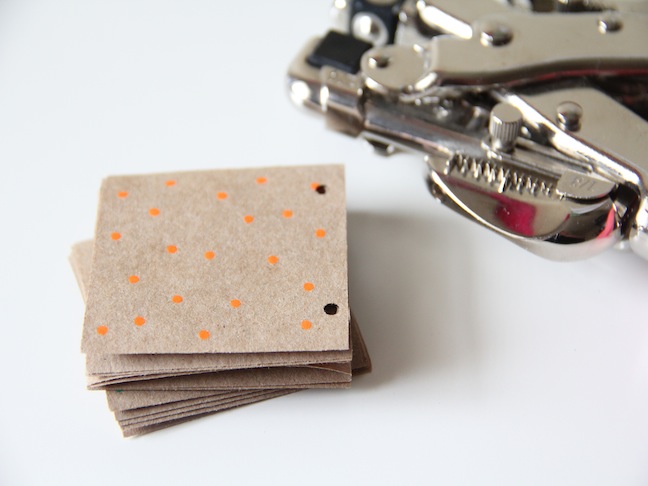
Step 3: Once the paint is dry, stack the paper squares together and punch some holes at the top of the stack. Keep in mind you’ll want them to be evenly spaced to thread the string through.
Step 4: Time to string the paper squares all together! Space the squares evenly.
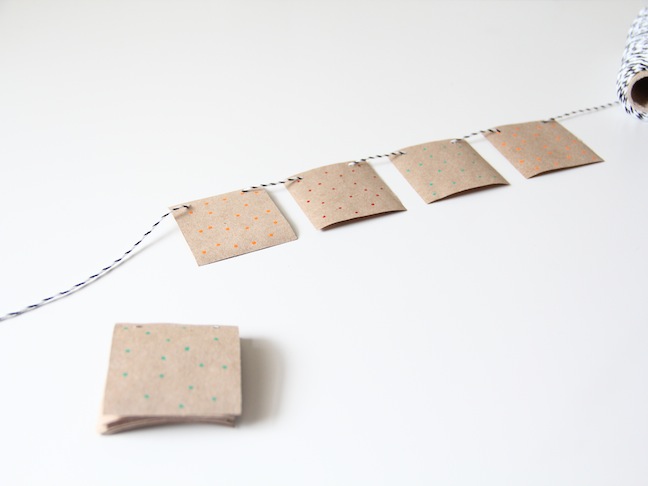
Step 5: Hang your pretty Fall Banner on the wall and enjoy your new fall decor!
