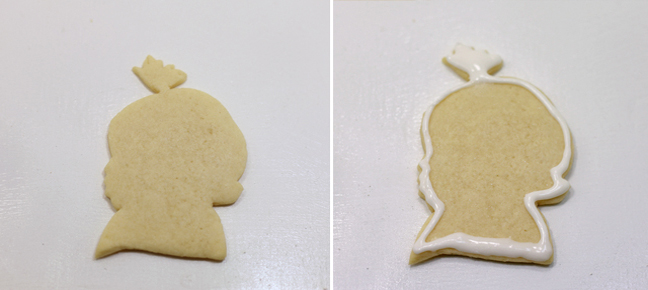
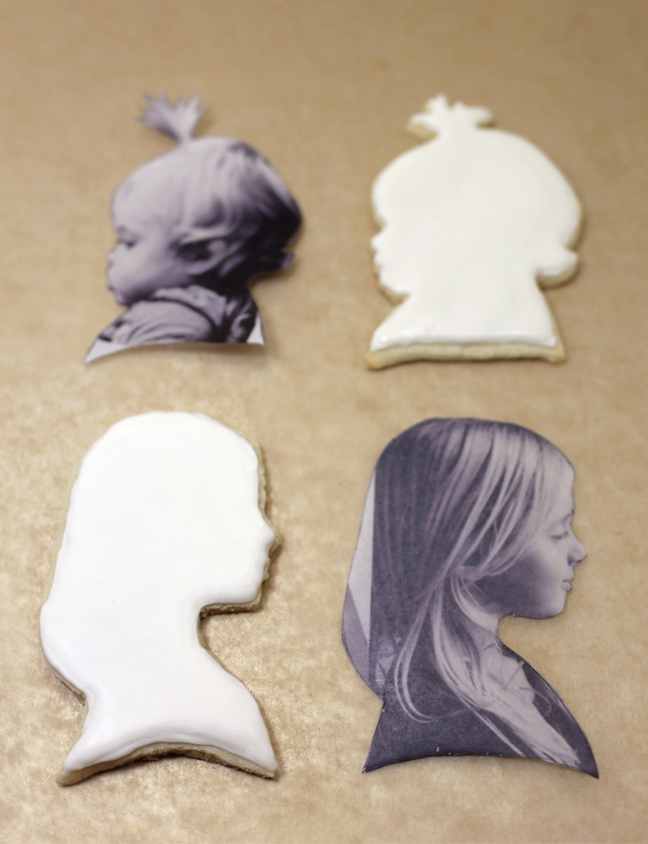
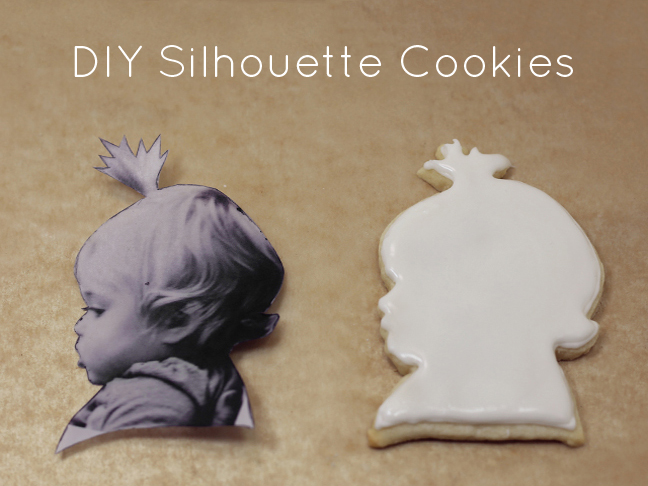
These DIY silhouette cookies might look like works of art, but you don’t have to be an artist to make them! All you need is a camera, a printer, some super basic tracing skills, and a good sugar cookie recipe (provided).
How cute would these be for a birthday party? You could even include a table with some edible markers and let the kids decorate them themselves!
Supplies:
- Camera or smartphone (or existing silhouette photo)
- Printer
- Pen
- Small scissors
- Sugar cookie dough
- Paring knife
- Royal icing (optional)
- Squeeze bottle or piping bag with small round tip (optional)
Directions:
Step 1: Prepare your cookie models. Dress them in sleek, dark-colored tops (i.e. no poofy coats). Girls’ hair can be worn down or in a high ponytail (low ponytails, braids, and side hairstyles such as pigtails won’t work as well).
Step 2: Take profile photo/s. One at a time, position your cookie model/s standing sideways against a pale background (such as a white wall) or light source (such as a window). Don’t worry about getting a “great photo”; all you’re really looking for is a good outline. Make sure your models are looking straight ahead (not at you) so you can see their profiiles clearly (hair, forehead, nose, mouth, chin, neck, shoulders).
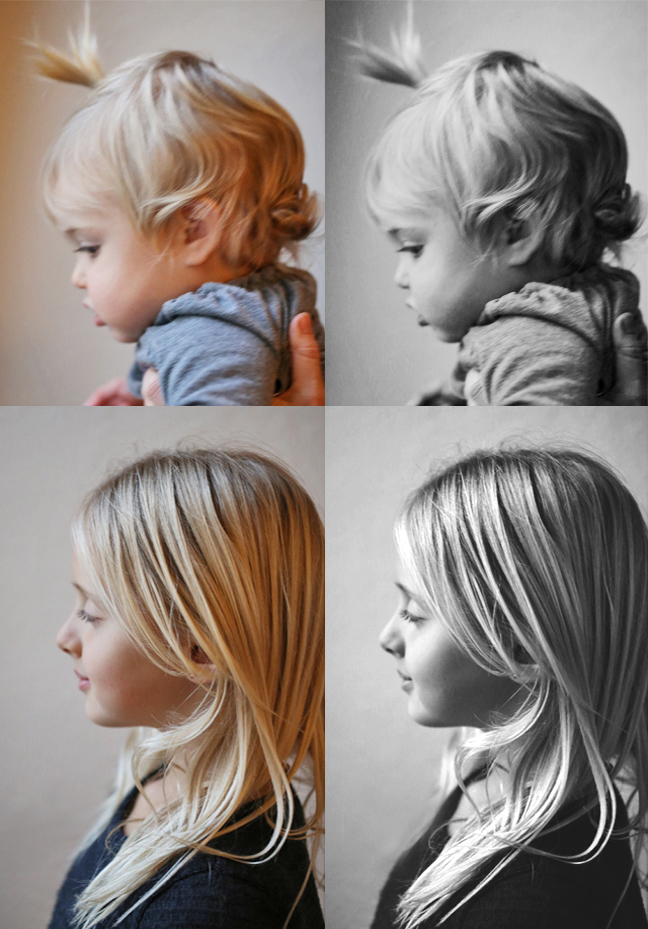
Step 3: Open your images in a photo editing program and resize them to your desired cookie size. Mine were about 4″x5.5″. The bigger your cookies, the easier it will be to cut them out and to see the details on them. Note: If you do not have a photo editing program, you can have your photos resized and printed at FedEx Office or your local printing shop.
Step 4: Print your images. I used regular printer paper, which worked just fine, but if you have thicker paper such as cardstock, that will make the cookie cutting process a little easier.
Step 5 (optional): Outline your images with a black pen. If it isn’t super easy to see the outline of your models profile in certain spots, outlining the shape of the profile can make the cutting process easier and more precise. You can also make some minor edits to the image if you need to (for example, I’d accidentally cut off the back of my model’s head in one of my images, so I filled it out with my pen outline.) This step shouldn’t be necessary if you took a silhouette photo in front of a light source.
Step 6: Cut out the silhouette. Use a pair of small scissors to carefully cut along the edges of your outline. This will be your template.
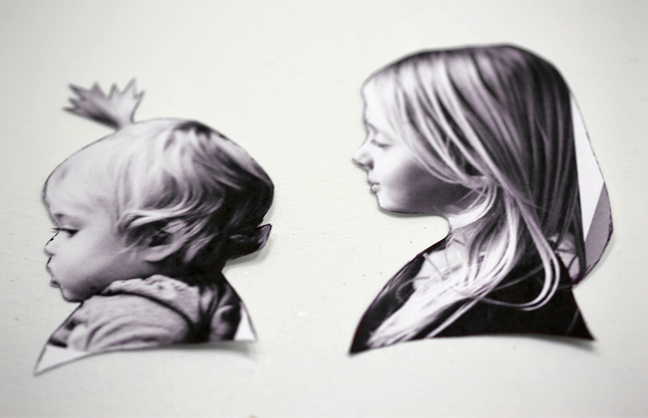
Step 7: Make and roll out the cookie dough onto a piece of parchment paper dusted with powdered sugar. I recommend this recipe, because it holds its shape well and does not require any chilling time.
Step 8: Place your silhouette template on top of the cookie dough. If you’re right-handed, it will be easiest to cut if the face in facing to the right, and vice versa if you’re left-handed (because it’s easier to see when your hand isn’t in the way). If your template is facing the “wrong” way, just flip it over—it doesn’t matter whether or not the printed side is facing up.
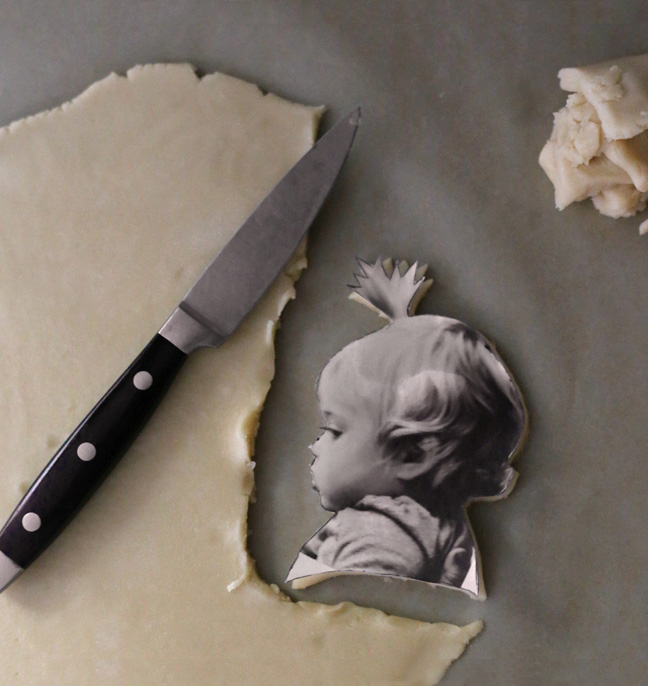
Step 9: Use a paring knife to carefully cut along the edges of your template in a small up-and-down motion (this helps prevent the knife from sticking). I found it was easiest to cut a rough circle about 1″ around my template, then peel small pieces away as I cut. When working on detailed areas, you may need to lightly hold the template down with your finger to keep it in place.
Step 10: Once you’ve cut all the surrounding dough away from your template, use your finger to push along the edges of the template to perfect and smooth any rough edges or crumbs. Peel off the template.

Step 11: Lightly brush the top and edges of a spatula with powdered sugar (to prevent the dough from sticking) and carefully transfer the cookie dough silhouette to a prepared baking sheet.
Step 12: Repeat steps 8-11 with remaining dough/templates. Bake cookies according to recipe directions. Let cookies cool.
Step 13 (optional): Outline and flood the cookies with royal icing.
