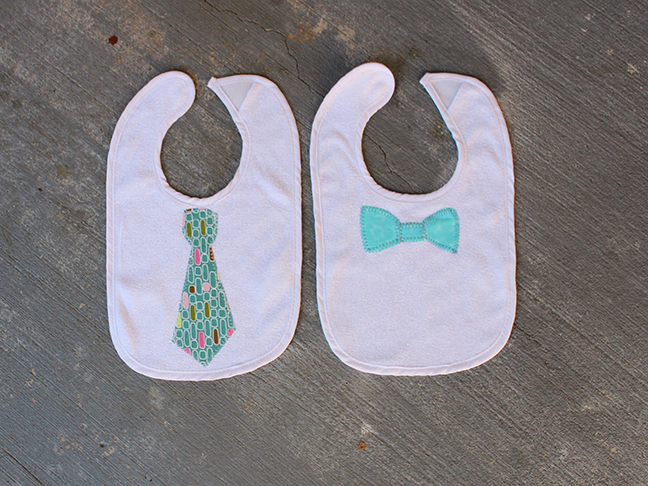
Have excess white baby bibs on hand? Why not make breakfast a black-tie event with fun details such as neckties and bow ties? Follow along to find out how to make this DIY necktie bib…in just a few quick hours those white bibs can go from drab to fab! Drool accepted.
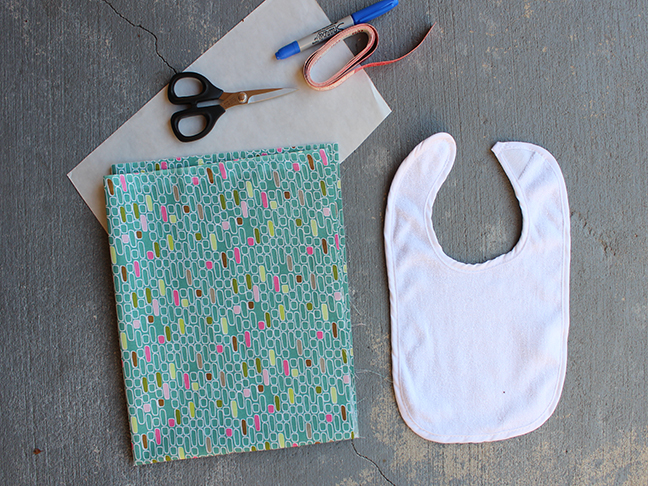
Supplies:
- Baby bibs
- Fabric scraps
- Fusible Web – Pellon EZ Steam works great. Check manufacturer’s package for directions and details.
- Sewing machine
- Sewing supplies – scissors, thread, measuring tape
- Iron and ironing board
Instructions:
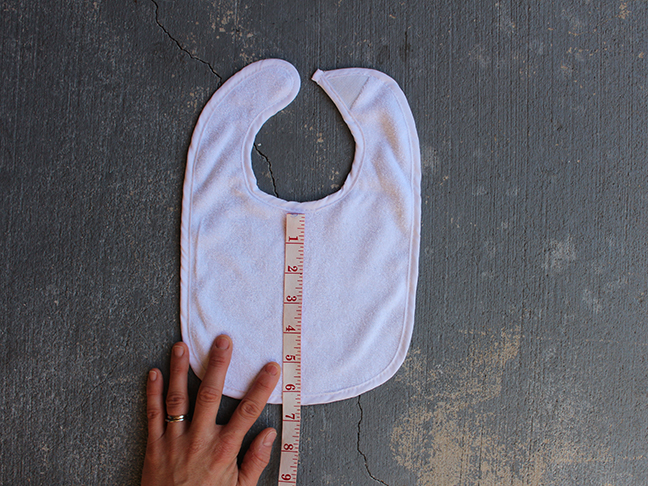
Step 1: Measure 5 inches down from neckline on bib. This should be the approximate length of the necktie. Find prefered images of a necktie. Print for tracing or hand draw.
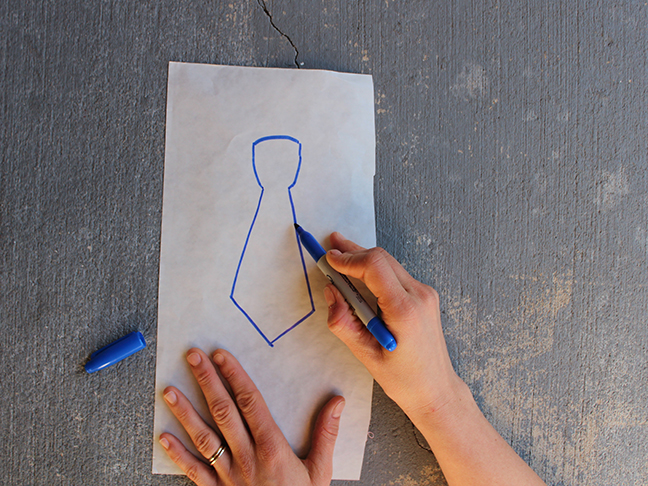
Step 2: Place the fusible web on your working surface. Smooth side facing up/textured side facing down. Place necktie image underneath and trace.
Step 3: Place fabric onto your work surface, right side facing down. Handpress wrinkles out. Cut out image leaving approximately 1 inch around outside edge. Place image onto fabric (remember to place on the backside) and press with an iron.
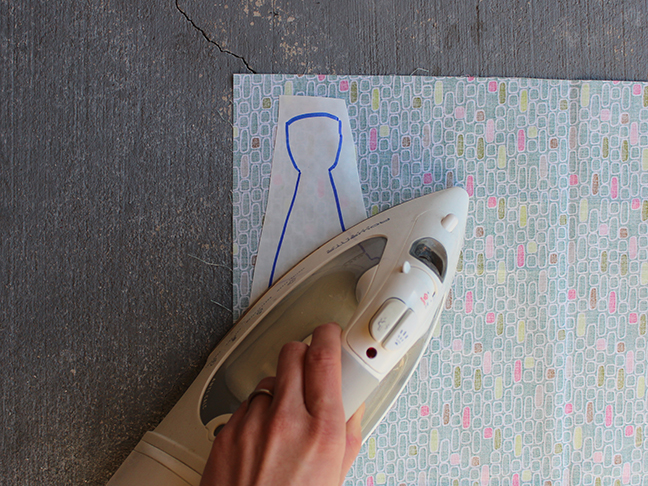
Step 4: Cut out image.
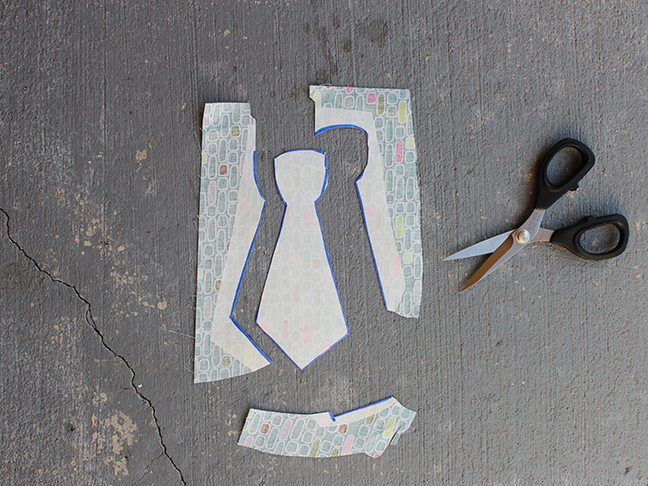
Step 5: Turn over and peel the backing from the fusible web. It should feel “sticky” when peeled back.
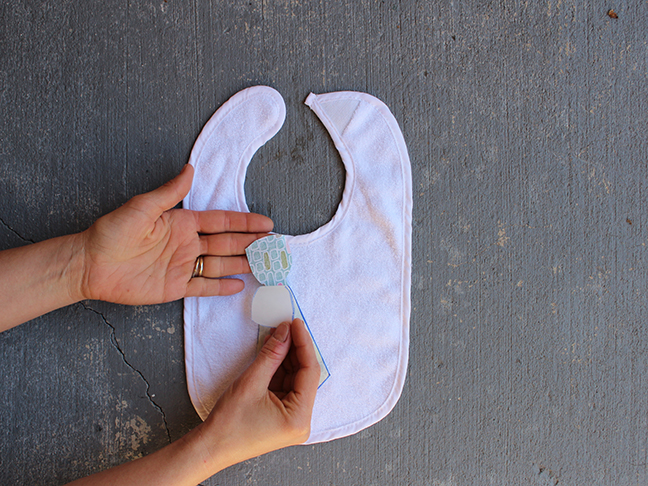
Step 6: Decide on the necktie placement and stick onto bib.
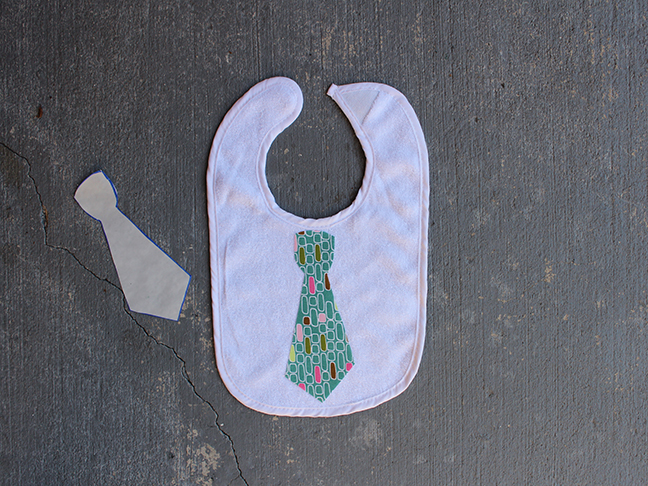
Step 7: Press again with a hot iron. Place into sewing machine and stitch around the outside edge. Use either matching or contrast thread. New to sewing? Stitch around the necktie outside edge with a simple straight stitch. Feeling a little adventurous? Stitch around the outside edge with a zig-zag stitch. Scared of using a sewing machine? Use a needle and thread, and handstitch around the outside edge.
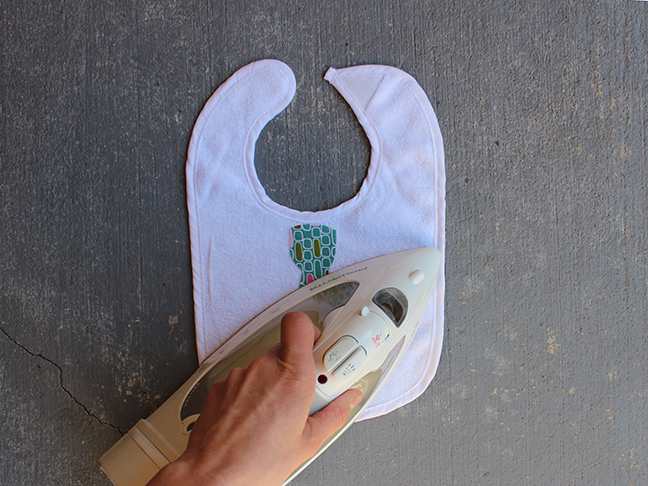
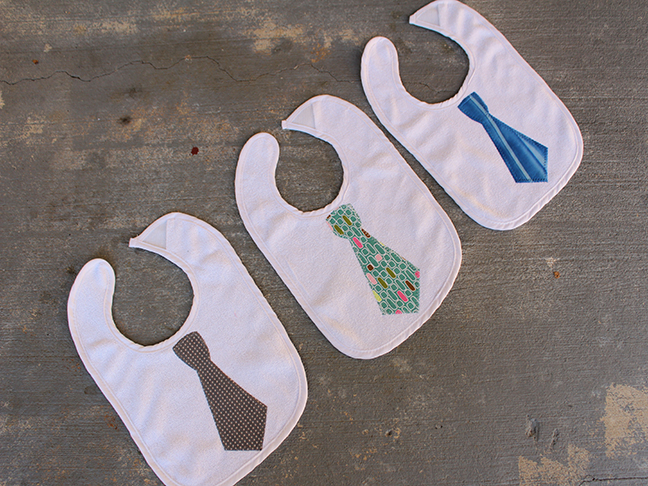
That’s it. Your bibs are complete. It’s that easy.
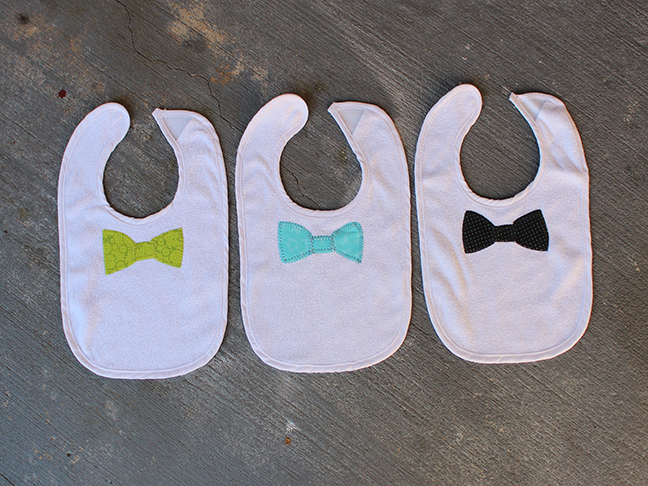
Having fun? Are you feeling confident and want to make a few more bibs? Next up, bow ties!
More DIYs for Baby:
