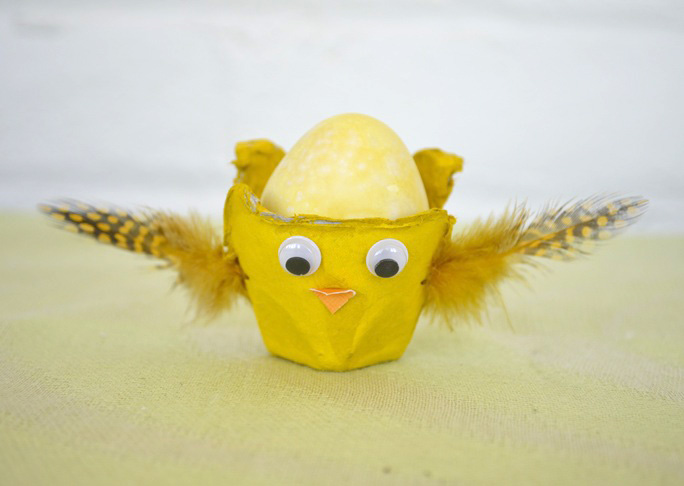
When you work hard to color your Easter eggs it’s always fun to have a cute way to display them. These egg carton Easter bunnies and chicks will do just that. This Easter bunny egg carton craft is super easy to make, and they’ll look adorable on your table this Easter.
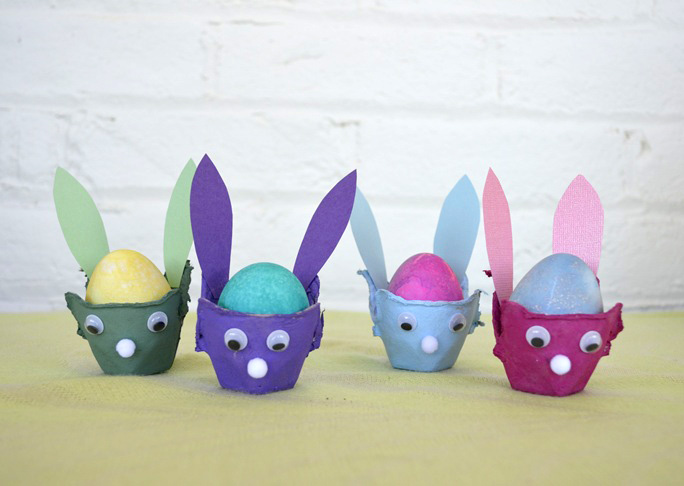
Supplies:
- egg carton
- paint in yellow, pink, blue, green, purple, or your favorite spring colors
- paintbrush
- 2 wiggly eyes per holder
- ¼ inch white pom poms, 1 per bunny holder
- 1 inch pom poms white or to match paint colors, 1 per bunny holder
- 2 yellow craft feathers per chick holder
- scrap pieces of card stock in colors to coordinate with your paint
- small scrap piece of orange card stock
- bunny ear pattern (click here for the PDF to print out)
Instructions:
Step 1: Cut the egg carton apart, so you have individual egg cups.
Step 2: Paint the egg cups inside and out. Paint chick cups yellow. Paint the bunny cups in pink, blue, light green, purple, or any other fun spring color. Set them aside to dry completely. If you’re doing this craft with the kids, you might want to complete this step ahead of time, or plan a fun activity while the egg cups are drying.

Step 3: To assemble the bunny egg cups: Print and cut out the bunny ear pattern. Trace and cut out two bunny ears in coordinating colors to match each of your bunny egg cups.
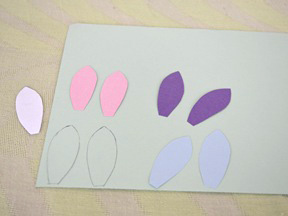
Step 4: Glue the bunny ears to the inside back of the cup, point side up, so they’ll stick out behind the egg when you add it to the cup.
Step 5: Add the wiggly eyes to the front of the cup, about ¼ inch down from the top.
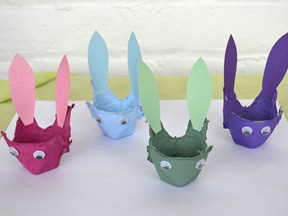
Step 6: Add the ¼ inch white pom pom to the center front with a little glue for the bunny nose.
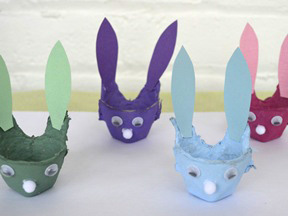
Step 7: Add a 1 inch pom pom to the center back of the egg cup for the bunny tail.
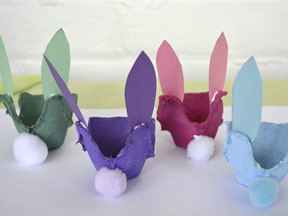
Step 8: Add an Easter egg to the cup, and you’re ready to display!
Step 9: To assemble the chick egg cups: Add the wiggly eyes to the front of the painted cup, about ¼ inch down from the top.
Step 10: Glue one feather about halfway down each side of the egg cup, so the feather is sticking straight out from the cup.

Step 11: Cut a ¼ inch square from the orange card stock for the chick cup’s beak. Cut one for each chick cup you’re making.
Step 12: Glue the beak to the center front of the egg cup.
Step 13: Add an Easter egg, and you’re ready to display!
More Easter Crafts:


