I’ve been seeing flower walls everywhere! They are great for decorating baby showers, birthday parties, events, and even your home. They’re bright, colorful, and perfect for a spring DIY craft. This project takes few materials and only a couple short steps. You’ll have a killer wall in no time! You can use real or fake flowers, but my secret to this project is using fake flowers; they look just as pretty and your DIY flower wall will last forever. Have fun with this—start blooming and happy spring!

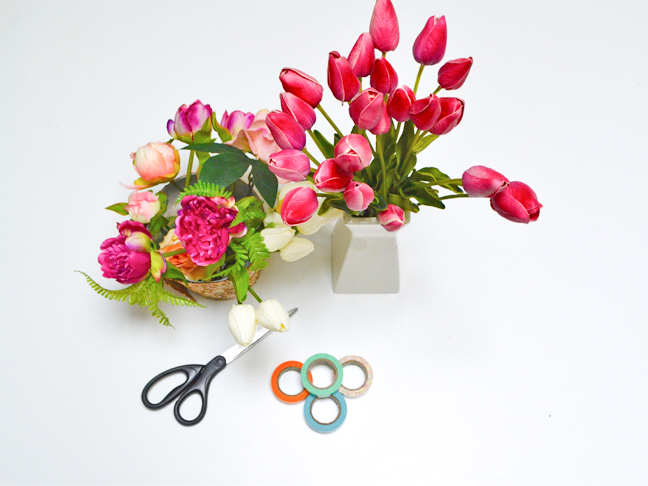
Supplies:
- Real or fake flowers
- Scissors
- Washi tape
- A wall

Instructions:
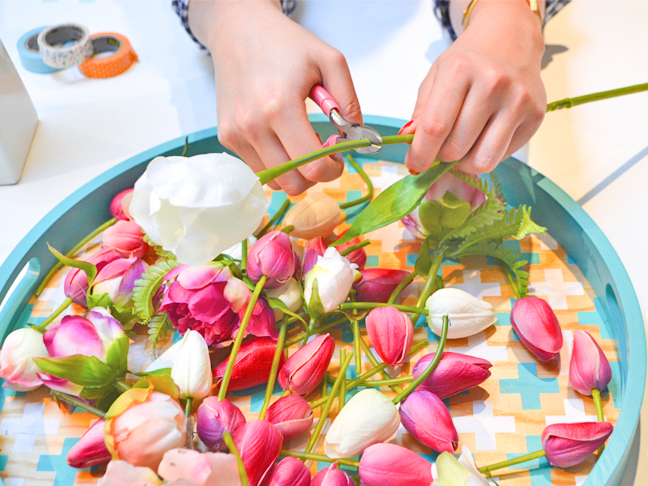
Step 1: Gather all of your flowers and cut off a good amount of the stems, leaving a little more than an inch.
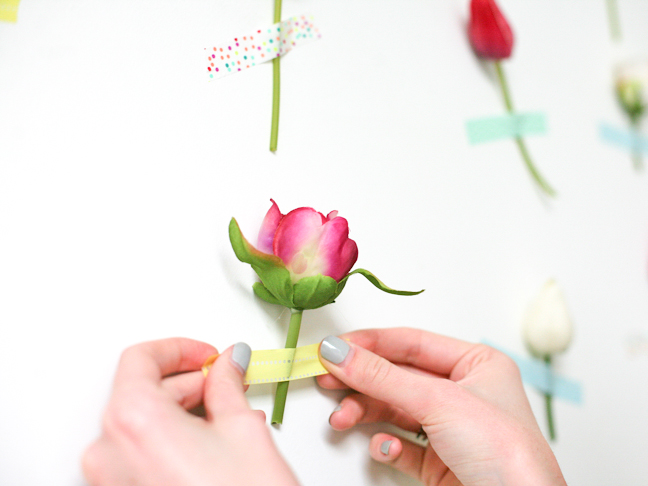
Step 2: Take any cute patterned or colorful washi tape and cut inch-long strips. They may vary in size for more of a “messy” look. Cut a strip for every flower!

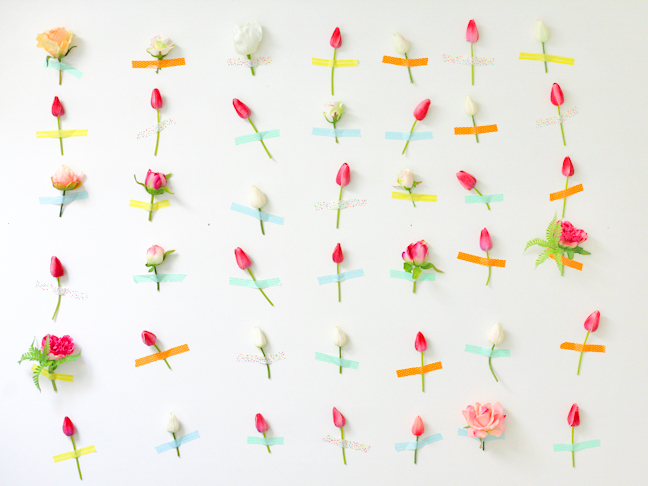
Step 3: Take your pieces of tape and stick your flowers to a wall. It’s that simple!

You can make your flower wall as small or big as you want. Play around with designs—it doesn’t have to be in a rectangle. Have fun!
More DIY Spring Flower Art:


