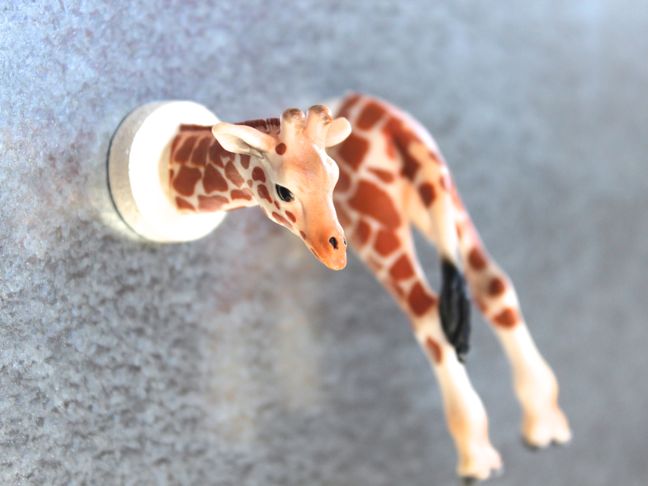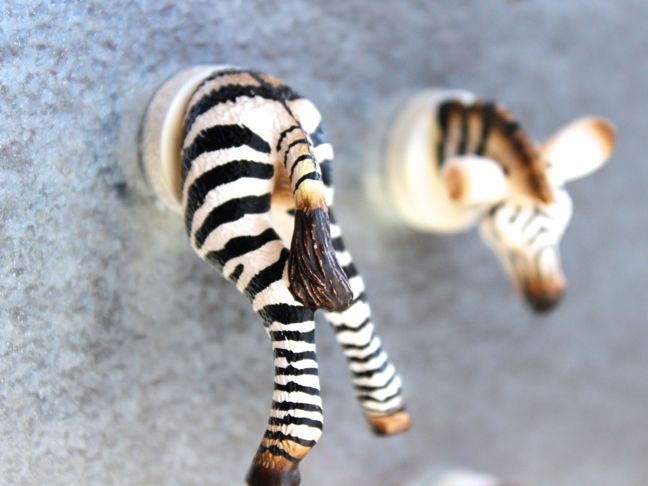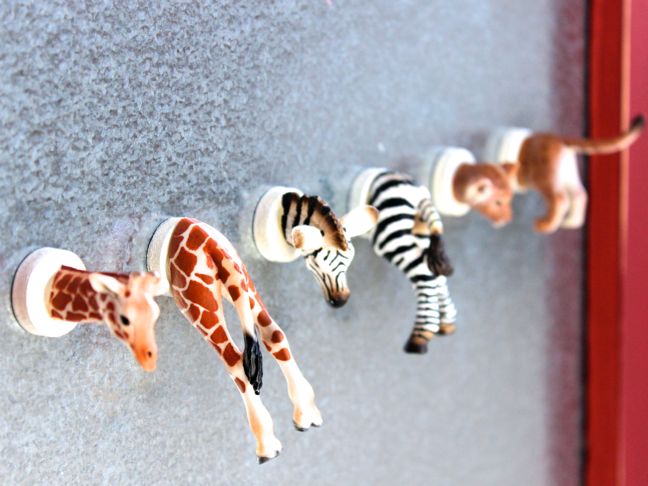
Toy animals are everywhere. Not only do the realistic, pint-size animals fill my son’s toy chest (and cover the floor in his room), but the lovable creatures are also making their way into the party and décor world. They wear party hats, tell someone you love them, and even serve as succulent planters.
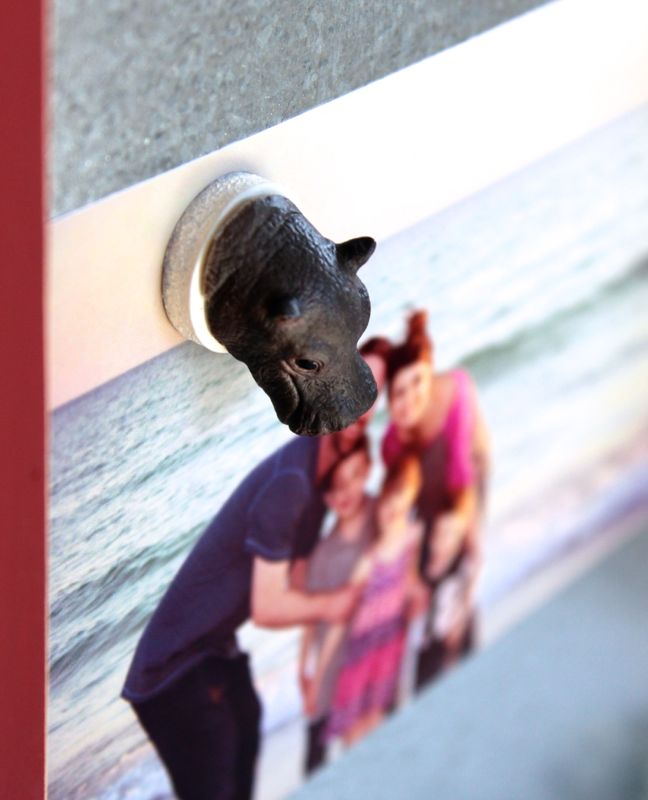
Now, their heads and tails can hold photos and art on a magnet board, too. These DIY animal magnets made my son giggle, and he was quick to hang some of his favorite photos next to his most treasured animals friends.

Supplies:
- Sheet metal (pre-cut at Home Depot) or magnet board
- Circular magnets
- Spray paint
- Plastic toy animals
- Sharp knife or access to a chop saw (miter saw)
Instructions:
Step 1: Spray paint the magnets or animals the color of your choice.
Step 2: Cut the animals’ heads and tails off. My husband works on a construction site every day, so when I sent him to work with a bag of toy animals to cut with a chop saw, he looked at me like I was slightly crazy…and he was the recipient of many looks that day. If a chop saw is not an option, a knife and a little muscle power will work just fine. I had to cut all the tail ends with a knife, and if I can do it while prepping dinner, you can too.
Step 3: Once the paint is dry, use a hot glue gun to glue the animal heads to the magnets.
Step 4: Find your favorite photos and display!


photography by j. sorelle
More DIY Animal Crafts:


