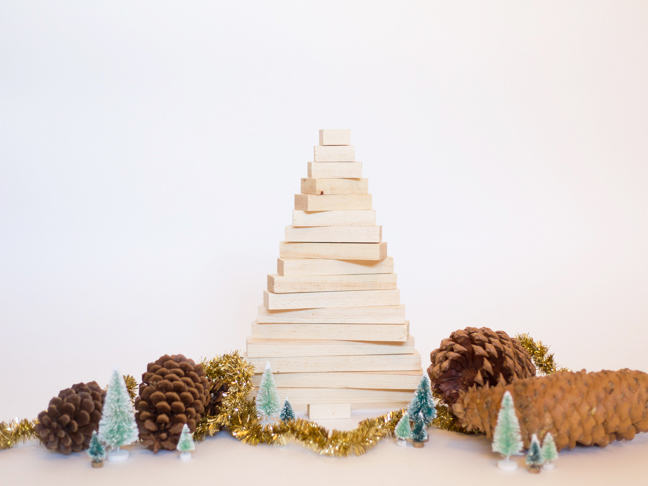
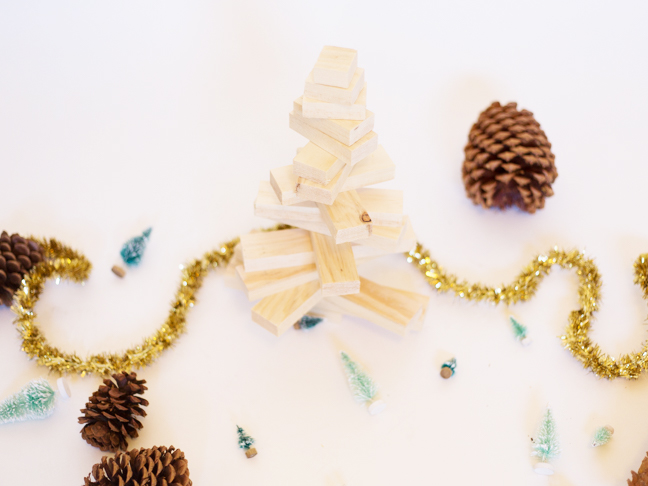
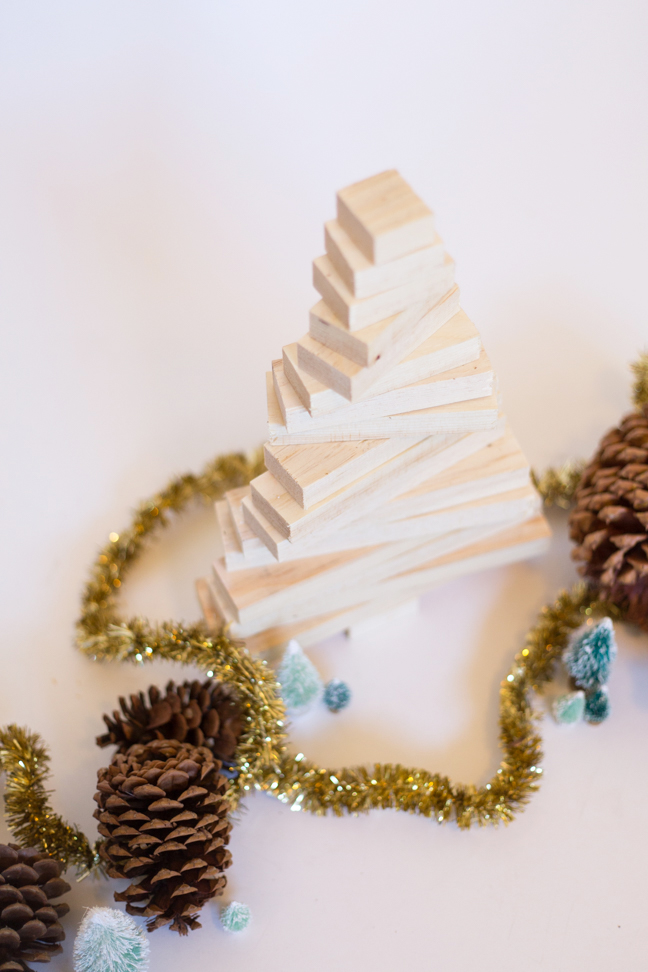
We switch up our Christmas decor a little bit every year to keep things fresh. Our decor this year is minimal, post-modern chic. It’s an easy theme; I’m hand-making some simple decorations out of wood to display around the house (like this starburst wood wreath I made for our front door). This DIY modern wood Christmas tree is super easy to make, and only took me about twenty minutes to put together. If you want to spruce it up further, you can add some gold leaf or paint to it, but I kept ours plain and simple. Here’s how:
Supplies:
- 8 feet of 1 inch by 2 inch pine
- Miter saw
- Drill
- 5/16 inch dowel
- wood glue
- 3/8 inch drill bit
Instructions:
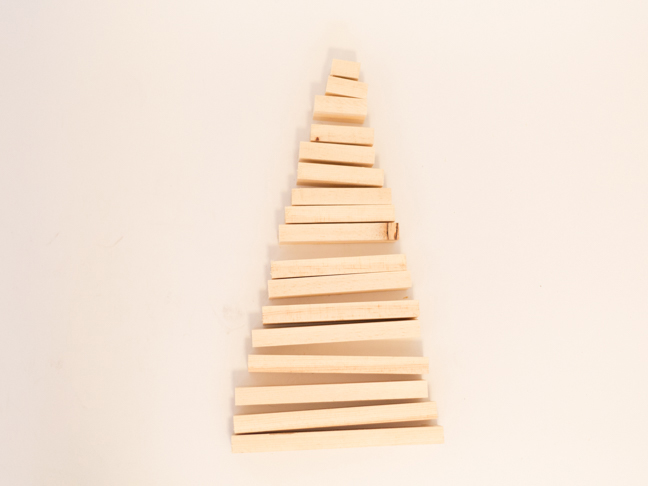
Step 1: Start by cutting your piece of wood into varying lengths. Cut pieces at half inch increments so you have a range of pieces from nine and a half inches long to one and a half inches long. Cut an extra piece that is two inches long to serve as the trunk of your tree.
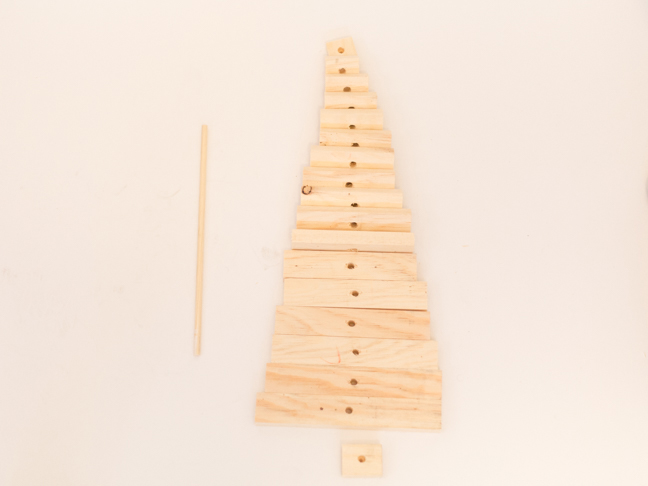
Step 2: Drill a hole through the center of each piece of wood. For the top and bottom piece, only drill halfway through so it can serve as an end cap. Cut your dowel to match the height of your stacked pieces of wood.
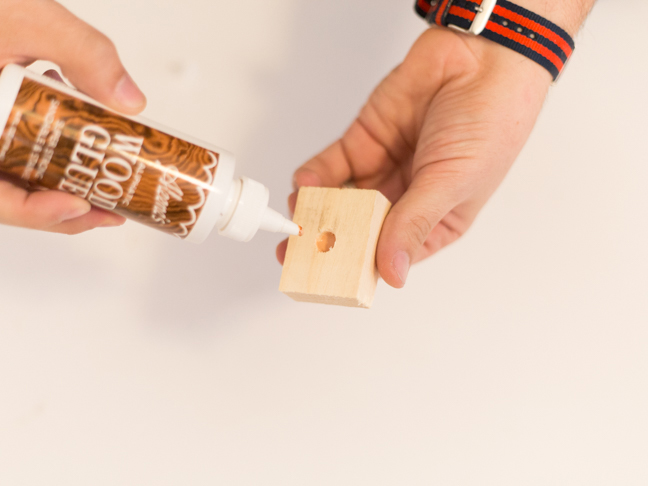
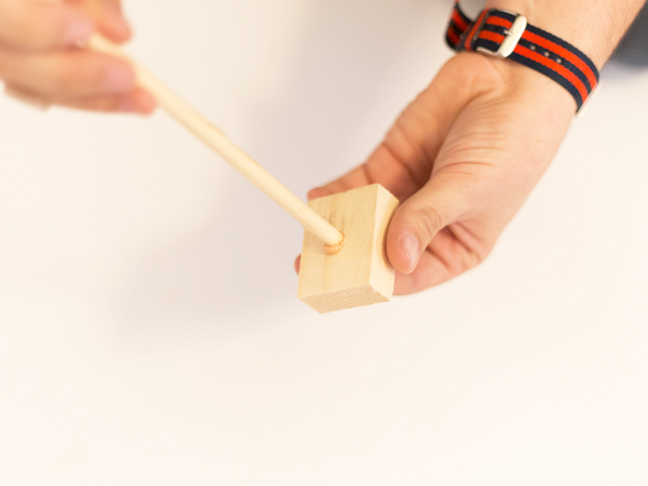
Step 3: Take your two inch trunk piece, put some wood glue in the hole, and attach your dowel.

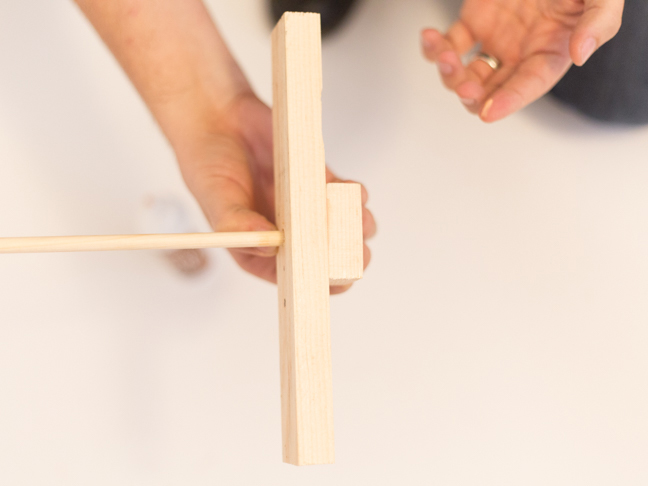
Step 4: Add some glue to the top of the piece and then slide your longest wood piece down onto it and let them dry.
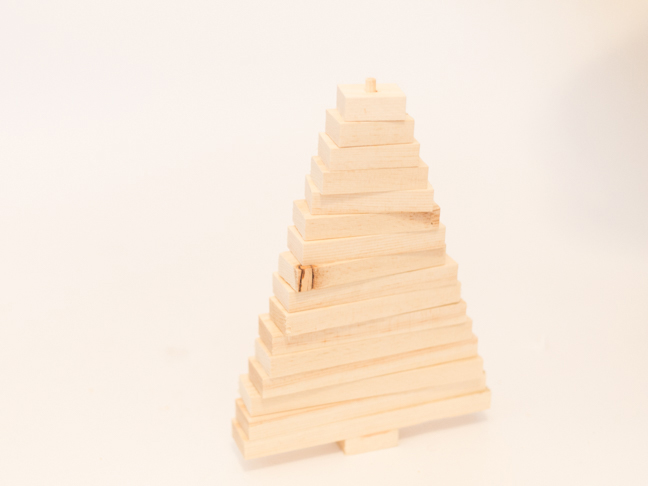
Step 5: Stack your remaining wood pieces onto the dowel in order.

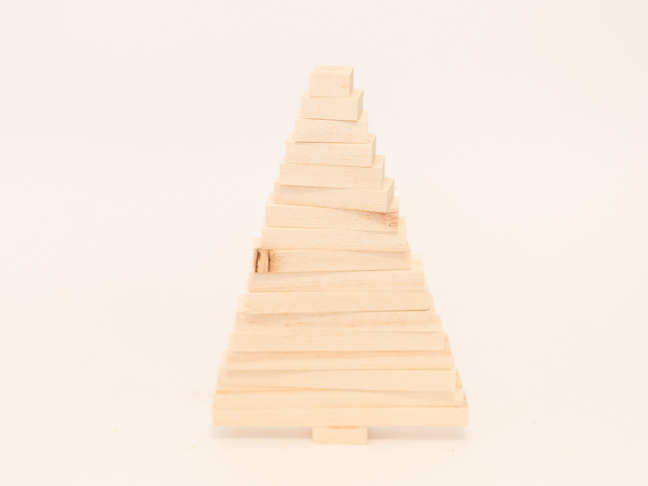
Step 6: Put some glue into the hole and on the edge of your final piece and glue onto the top. Let it dry and your mini tree is complete!
More DIY Christmas Tree Projects:
