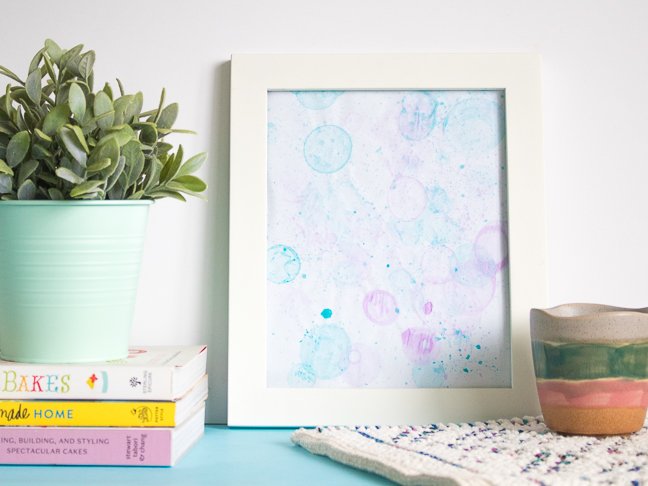
My 4-year-old niece and her friends could play with bubbles for hours. Watching them in action got me thinking about how to use bubbles to make an art project this summer. Enter DIY bubble art! Kids can make bubble art with standard acrylic craft paint (non-toxic), and then it can be framed for a beautiful (and personal) wall hanging. Another bonus: it’s a very inexpensive project. In fact, you probably already have these supplies in your house.
Ready to have a kid-created DIY bubble art masterpiece of your own? Just follow these steps.
Supplies:
- Paper (cardstock or printer paper)
- Bubbles
- Bubble wand
- Non-toxic acrylic craft paint
- Small bowls
- Paper towels
Instructions:
Step 1: Cover a craft area with paper towels, plastic, or newspaper to protect it from paint. If possible, this project is best done outdoors. Wear smocks or old clothes so you don’t ruin nice outfits.
Step 2: Distribute the bubbles into small bowls and add several drops of paint in desired colors to each bowl. Stir with bubble wands until the paint is completed combined.
Step 3: Place a piece of paper (colored or white paper will work) on the covered craft area and use the bubble wands to slowly blow bubbles at the paper. For best results, lightly tap the bubble wands on the edge of the bowls to let excess drip before you blow. This will keep the drips from falling on the paper.
Note: it may take a couple tries to get the hang of it. Beware, when bubbles pop, the paint could splatter your face, which is why it’s very important to use non-toxic paint and have extra paper towels handy for wiping paint away.
Step 4: Continue blowing bubbles at the paper in a variety of colors and sizes and set aside to dry for at least 10 minutes. Once the paint is dry, hang them, frame them, or even use the paper to make cards and other projects!
