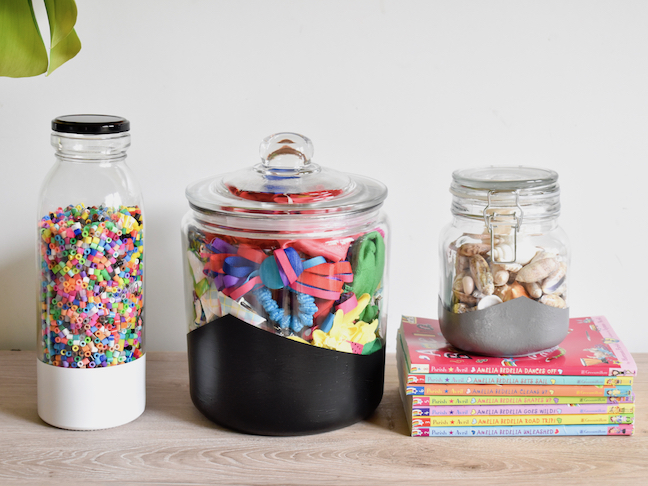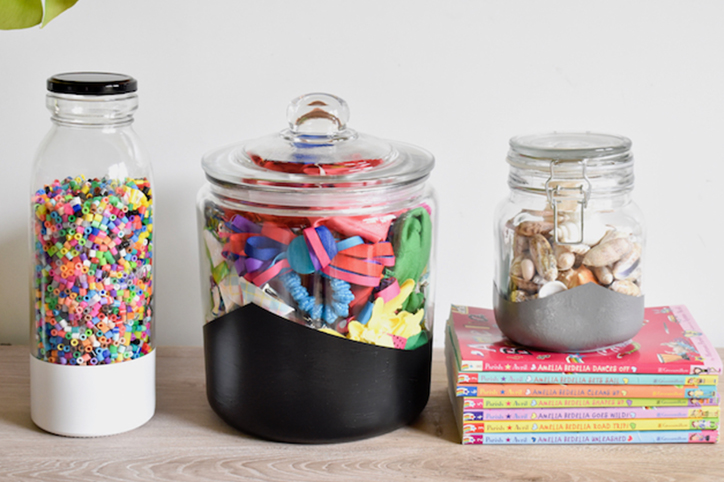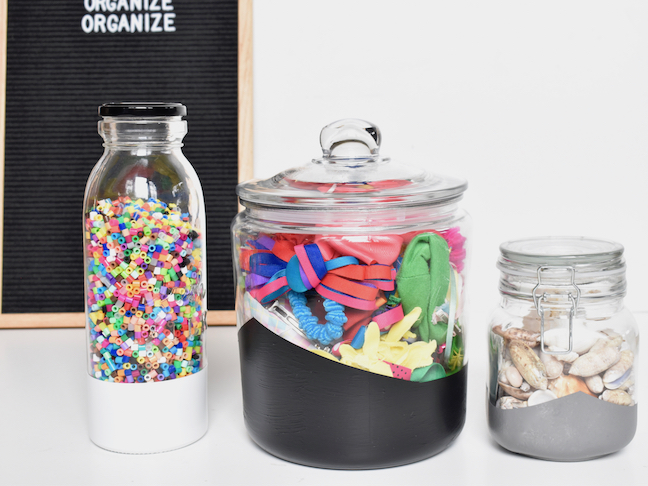
My daughter is just like her momma (me) in more ways than one. She looks like me, She acts like me, including that stubborn streak, too. And she is creative and loves to craft like me. She’s also messy, messy, messy like me. We are trying to organize her disorganized room so she can not only find things, but develop habits that will help keep her life in order. We started with really simple DIY painted storage jars to keep her knick knacks organized. Glass storage jars are great as is, but we painted them in a color block pattern so we could still see what was inside, and also because of its modern, and pretty aesthetic.
This is a manageable way to organize almost anything. In the laundry room, you can add laundry detergent pods, lost coins from the laundry, and laundry balls. Or, think about all the poms poms, beads and craft supplies you can store in DIY glass jars. My daughter was in need of storage for her hair bows (often thrown on the floor), perler beads (found scattered in her desk) and special seashells from the Florida beach (previously stored in plastic bags).
With every organization project, sometimes the first step is the hardest step. So, let’s not waste any more time, and let’s get started. It’s pretty straightforward.
DIY Painted Storage Jars
Materials:
- Glass jars (found here, Target’s Bullseye Playground and WalMart)
- Acrylic paint (enamel is best) or spray paint
- Paint brush (regular and stencil)
- Painter’s Tape
- Clear Sealant, spray paint or Mod Podge
Directions:

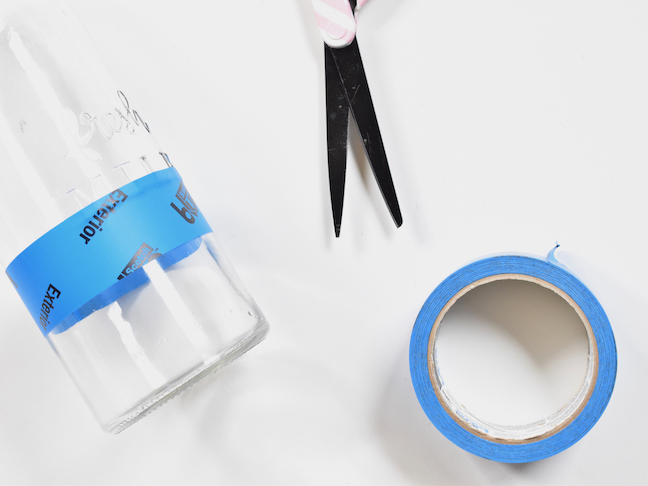
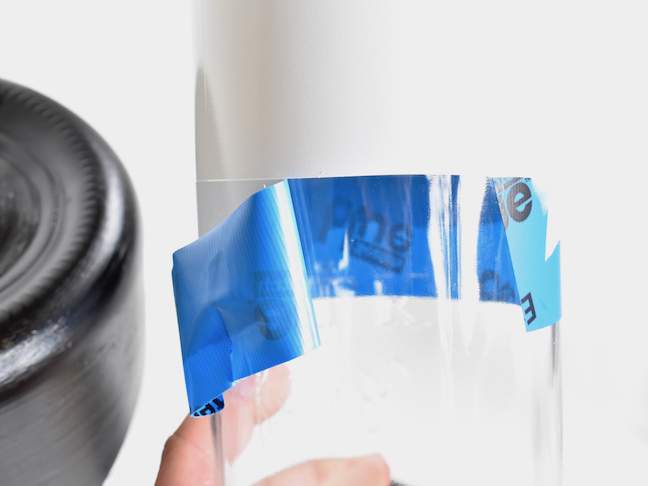
Step 1: Make sure the jar is clean and ready for paint. Next, wrap tape around your jar. You can do a basic color block line, or make it jagged. I added a peak to a couple, and left the other straight. I eyeballed it, and didn’t do any precise measurements. Make sure the edges are pressed tight to prevent paint leaking through. You can use Painter’s Tape. I only had the exterior Painter’s tape, and it worked great.
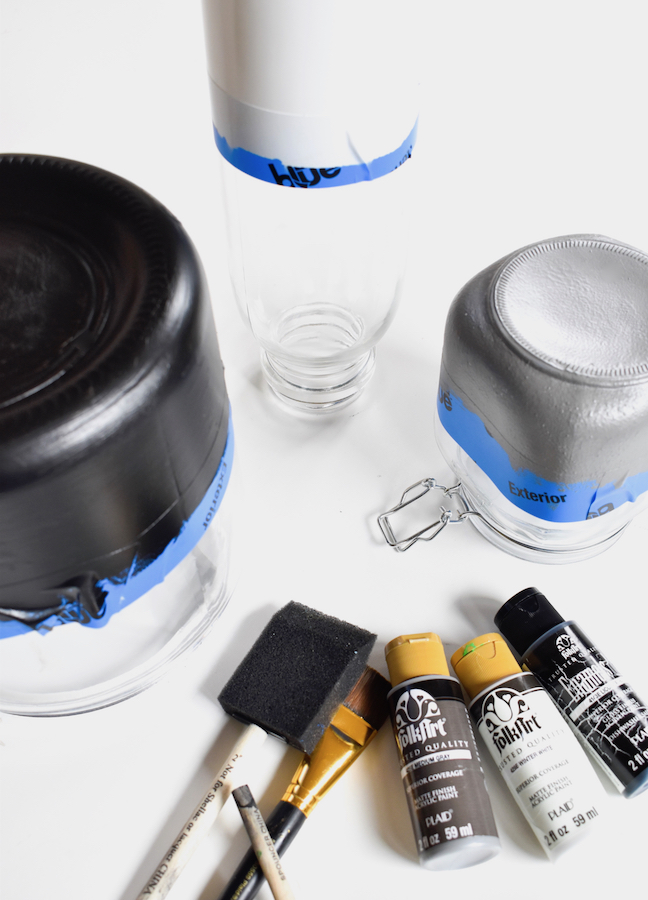
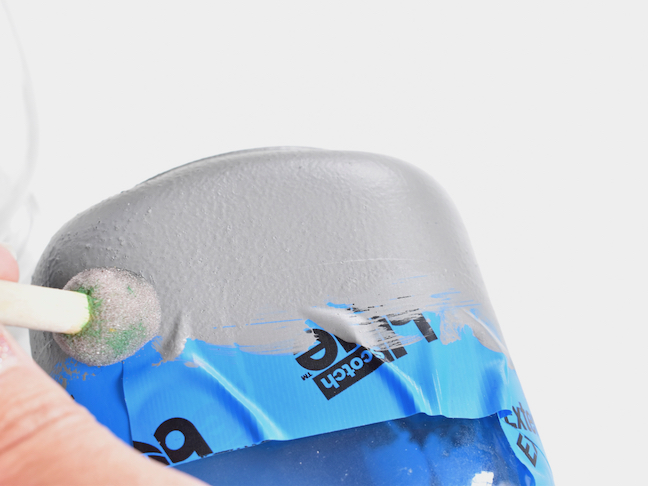
Step 2: Begin to paint. You can keep it basic with black and white paint like we did, or make it super colorful. Okay, so I tried three different methods to painting these jars. The first one was with the stencil brush. It worked good, especially for thinner paint. It creates somewhat of a texture. Next, I used a paintbrush with normal brush strokes. It worked good, but I can see slight brush lines. Then, I tried spray paint. My favorite method was spray paint just because it looks so clean. But, it is more time consuming on the front end to cover the bottom (really, it’s the top) of the bottle.
All the paint options work. You can decide what kind of texture and time you want to put into this. All of them are easy, and relatively quick. For all of them, plan on doing two coats of paint.
For all paint methods, I sprayed a clear sealant over it to protect it from scratches.
Once you spray sealant, remove tape.

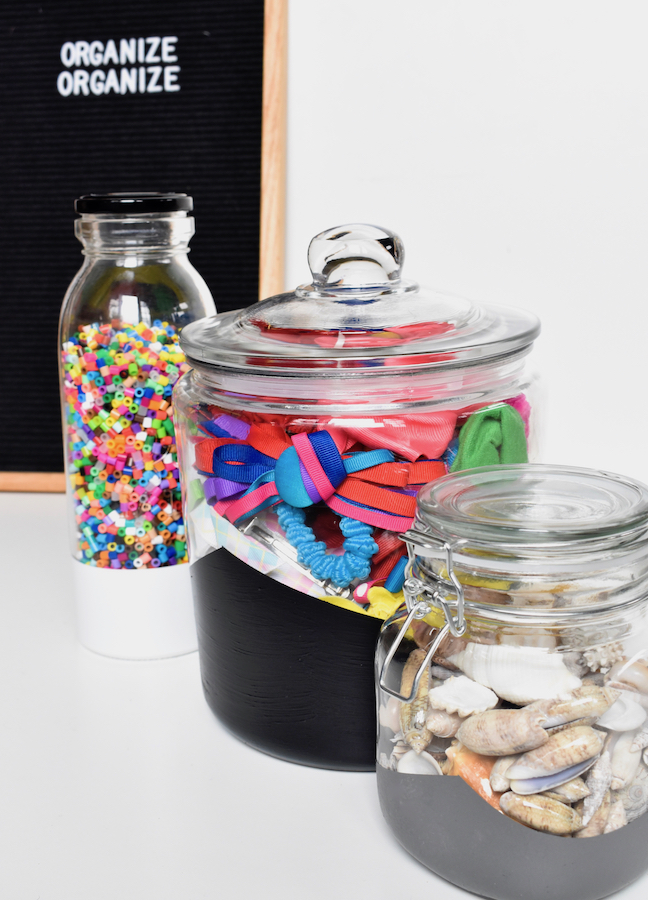
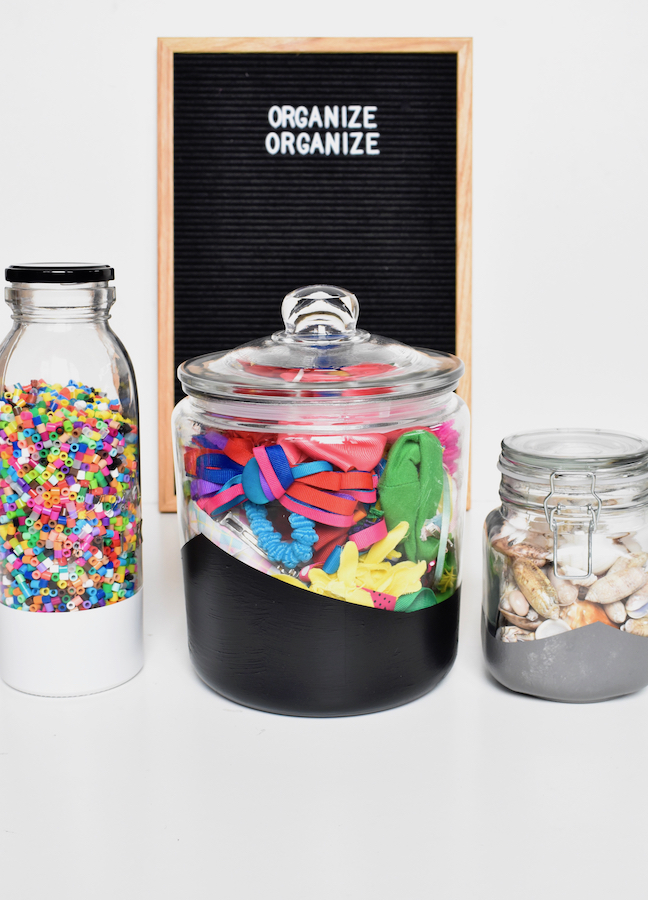
Step 3: Wait until it’s dry and fill it with goodies.
