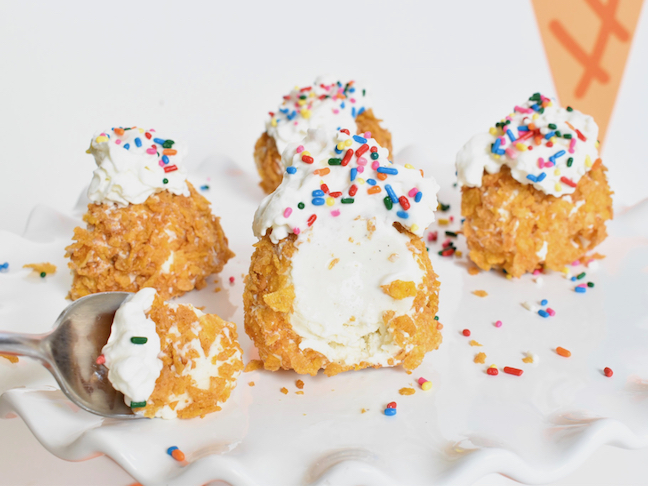
You scream, I scream, we all scream for ice cream. We’re screaming loud over here because it’s summer, and we are not eating just any ice cream…we’re loving fried ice cream. But, not “fried” in the traditional sense with flour, eggs or breadcrumbs saturated in hot oil. I cheated, and made “fried” ice cream without any oil at all! Instead, I rolled vanilla ice cream in a buttery and crunchy cornflake topping with a hint of cinnamon, and topped with whipped cream and sprinkles. Yummy!
Here’s how you can “fry” ice cream, too.
Fried Ice Cream
serves approximately 6-7 people
Ingredients:
- Vanilla ice cream, I made 6 balls with Tillamook Vanilla Ice Cream
- Cornflakes, 4 cups (or 2 cups crushed cornflakes)
- Butter, 3 tablespoons
- Cinnamon, 1/2 teaspoon
- Sugar, 1/2 teaspoon
- Ziploc bag and rolling pin (for crushing the cornflakes)
- Parchment paper
- Toppings: chocolate, sprinkles and/or Reddi Whip whipping cream
Directions:
Step 1: Scoop 6 to 7 balls of ice cream onto parchment paper in a freezer safe tupperware with lid, or baking sheet, and put it in the freezer. I did this step one day prior to making the “fried” ice cream, so I used tupperware with a lid. If you’re going to make this the same day, a baking sheet will work just fine. Freeze the ice cream balls for at least 30 minutes.
Step 2: Prepare the “fried” topping. To do this, crush cornflakes in a ziplock bag with a rolling pin. Add 1/2 tsp. cinnamon and 1/2 sugar to the crushed flakes. Melt 3 tablespoons butter on the stove in a saute pan, and add this mixture to it. Stir the butter and flakes on medium heat until the flakes turn golden brown, which is about 5-6 minutes. Take off the stove, and let the flakes cool completely.
Step 3: Pour the cooled flakes on a baking sheet or in a medium bowl, remove the ice cream balls from the freezer and begin to roll the ice cream in the flakes. As you roll, press the flakes onto the ice cream until it’s completely covered.
Step 4: Now, you’re ready to plate, and top with delicious toppings. We loved whipping cream and sprinkles, but chocolate would be delicious, too! These delectable and cute “fried” ice cream balls were gone in less than 5 minutes. To say my family liked it is an understatement. They’ve been asking for “fried” ice cream every evening for weeks.
Make More Frozen Treats:
- 7 Ice Cream Recipes You Can Make Without An Ice Cream Maker
- Chocolate Strawberry Ice Cream Cake Recipe
- 30 Homemade Ice Cream Recipes To Keep You Cool
